Linda got confirmation yesterday that our lab orders had been put in by our doctor. The blood work requires a 12 hour fast (minimum) so we finished dinner last night before 8 PM and did not have breakfast this morning. We headed out around 8:30 AM for the Henry Ford Health System Columbus Center in Novi, the nearest HFHS lab to our house. We would not normally get on I-96 at that time of day due to rush hour traffic but we wanted to get this taken care of early and then get something to eat and drink. We got to the lab at 9:15 and it only took a few minutes to get our blood drawn. We then headed to the Panera on Novi Road at Grand River Avenue for bagels and coffee and some down time to sit, relax, read, research, and write.
Linda spent some time last evening researching wallpaper installation but found conflicting information. I got online and looked at some of the same websites. Wallpaper is a little out of style at the moment and some of the website information was over 10 years old but still seemed relevant. The interior walls of our motorcoach are finish grade plywood that is firmly attached to the structure of the bus with spray foam insulation underneath. The issue is how to prep the plywood before we hang the wallpaper. Some sources indicate that we need to size it, some say to prime it, and others say to use a liner material and then prime, all before hanging the paper. Other sites, however, say to just hang the paper directly on the plywood and be done with it.
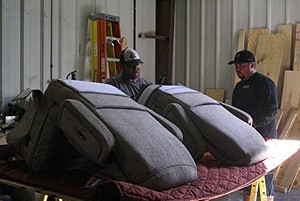
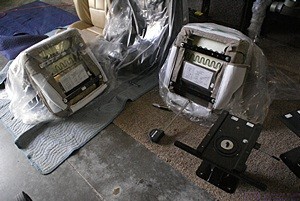
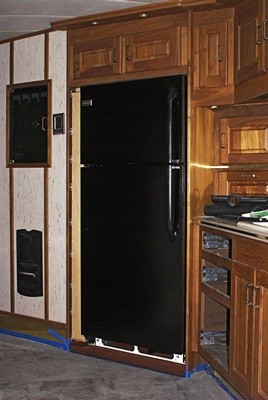
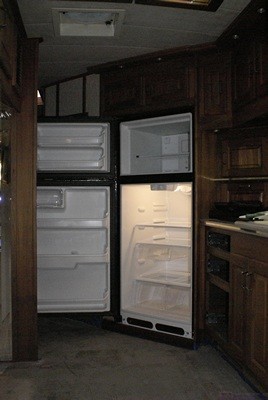
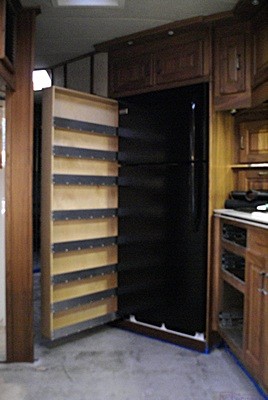
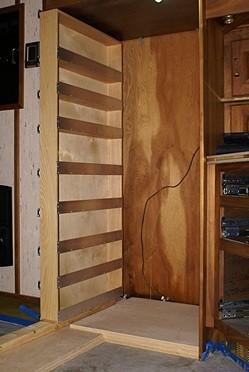
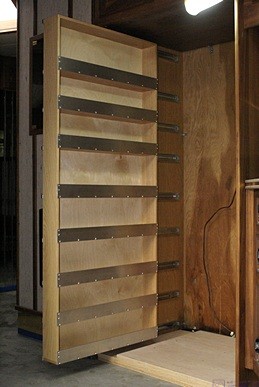
We left Panera and were headed west on Grand River Avenue. We noticed that Chuck’s truck was at his shop so Linda made a U-turn and we stopped to see if he was there. He was, so we visited for a while and got to see their new refrigerator and discuss the installation, which Chuck somehow managed to do all by himself. Even with the use of his forklift, that was quite an accomplishment.
We got back to the house at 12:45 PM, changed into our work clothes, took care of a few chores, and had a light lunch of fresh apples, pears, and hummus with onion on rye bread. I then called Josh Leach at Coach Supply Direct and left a message asking him to follow up with Ferman Miller at Countertops Plus. If Ferman does not have any more of the Sandstone Corian I want to make sure Josh gets the 30″x48″ piece from the other supplier before it disappears.
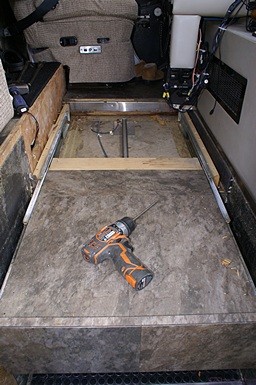
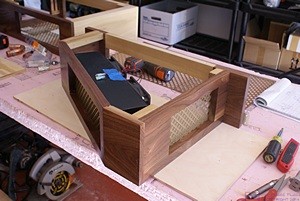
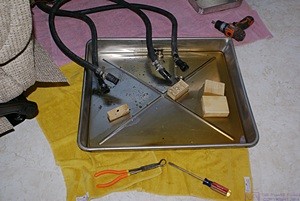
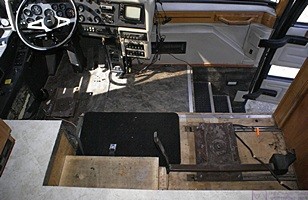
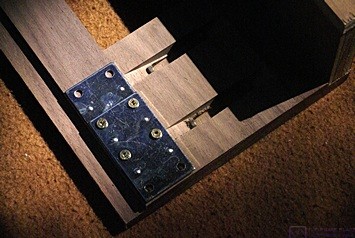
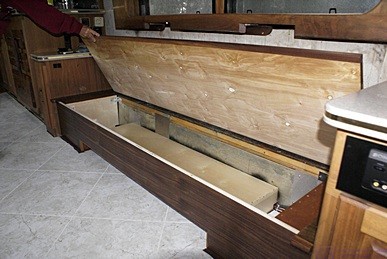
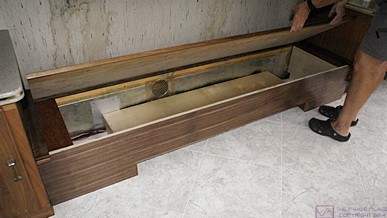
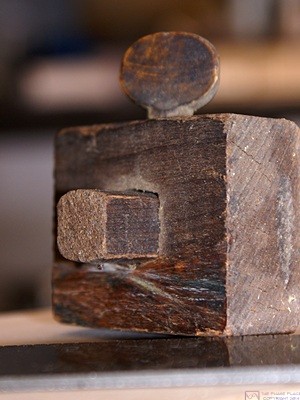
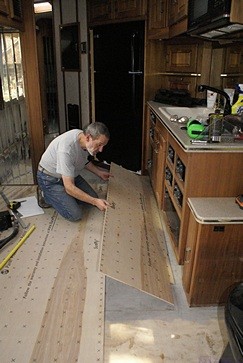
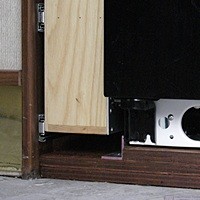
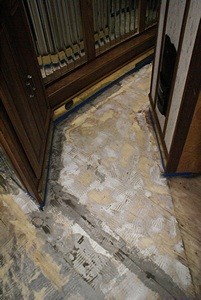
The entrance landing with the floor removed revealing the pneumatic linear actuator that operates the slide out stepwell cover.
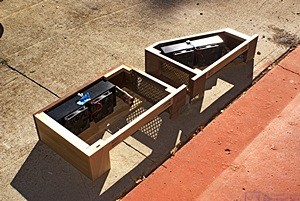
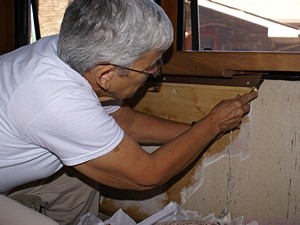
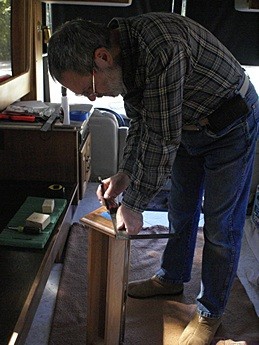
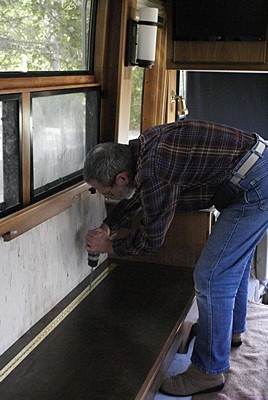
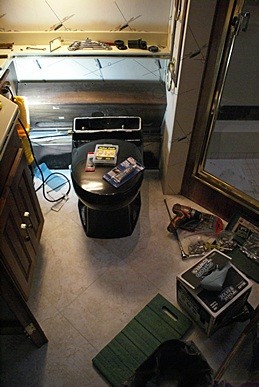
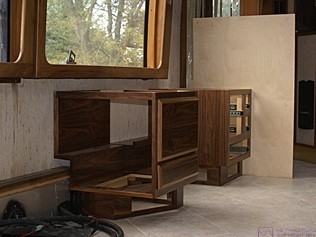
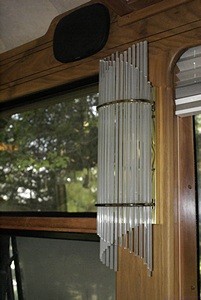
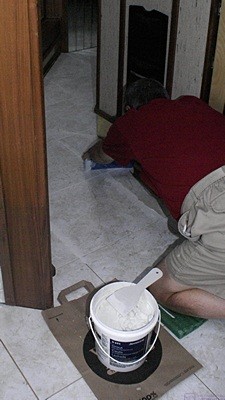
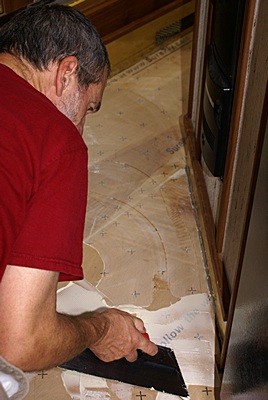
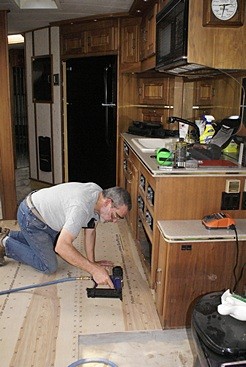
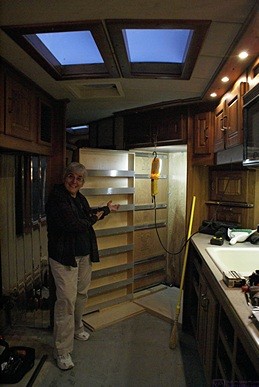
When we finally got to work on the bus around 2 PM Linda focused on stripping the old wallpaper and I started preparing the entrance for tiling. She taped off all of the wood trim where she is working, spread painter’s plastic to protect the floor, and wrapped the two living room captain’s chairs. I removed the existing vinyl tile from the entry platform, removed the plywood cover, and uninstalled the step well cover. I then removed the tile and treads from the stairs. I also moved the passenger seat forward and determined that I can probably get to the swivel shaft retaining nut from the back. Removing the seat by removing this one nut will make it much easier to tile that part of the cockpit. Ditto for the driver’s seat.
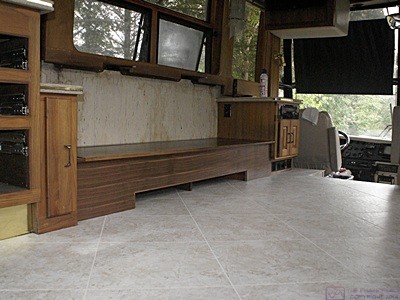
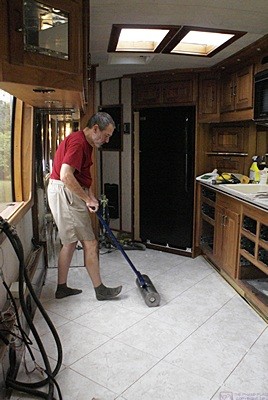
Although we got a late start on the bus today, and worked on it for less than four hours, we were satisfied with what we accomplished. The old tile came up more easily than I thought it would which bodes well for getting the entry/cockpit tiled with the new Armstrong Alterna Luxury Vinyl tile.
I called Phil Jarrell to verify that he had called Miss Dig and told them to mark the gas main and not just the utilities running to the house. He said he did and expected that they will be here on Friday. I will keep an eye open for them and intercede if possible. Phil expects to start our job on Tuesday. If he does he will probably be finished by the end of the week or over the weekend.
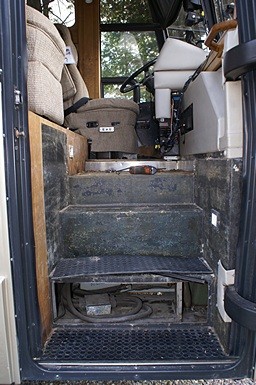
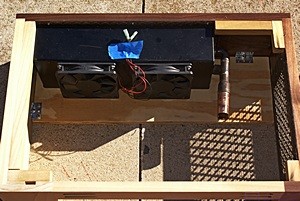
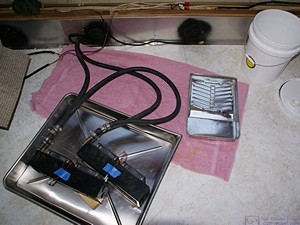
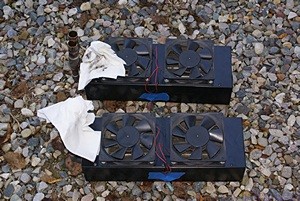
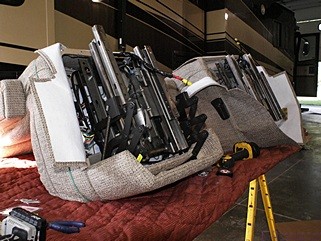
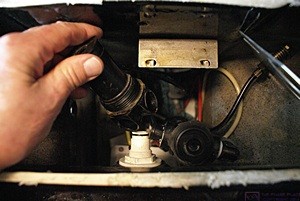
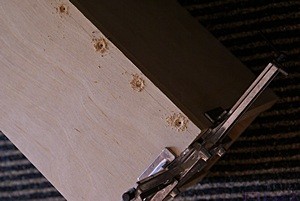
The entry stairs into the bus with the bottom riser cover plate removed to reveal one of the two air-conditioner compressors installed in the spare tire compartment. This is how the ports are accessed for service and recharging. The other compressor is accessed through the bay under the driver’s seat.
Linda let me know that our lab results were available so we each logged in to our HFHS MyChart accounts to look at them. Linda’s lipid profile showed a higher total cholesterol than she expected and she was not happy about it. Dr. Vangel had seen the results and commented that they were OK, but Linda was perturbed about it none-the-less. My total cholesterol was also higher than I would like but not as high as Linda’s. Her LDL and HDL numbers and ratio looked good and her HDL, in particular, was much better than mine. This was no doubt a consequence of her almost daily exercise walking. We apparently do not fully understand the lipid profile numbers or what we still need to change about how we eat to bring them in line with the guidelines put forward by people like Drs. Neal Barnhard and Caldwell Esselstyne.
Linda made a nice salad to start our dinner, served with a small glass of Moscato. The entrée was a mock chicken scaloppini that she picked up at Whole Foods. For a side dish she steamed kale with mushrooms, onions, and garlic. After dinner we sat on the back deck and enjoyed a second small glass of Moscato.
I went to my office and edited the blog posts for July 23 through 31 and hope to upload those posts tomorrow. I had an e-mail from Molly Pinner with Linda’s invitation to work as an office staff volunteer at the 2016 Escapade in Essex Junction, Vermont. I replied to that and cc:d Linda. I then e-mailed Lou and Val Petkus to let them know. I was wrapping up for the evening when I got an e-mail from Ed Roelle with the September CCO Newsletter. He develops the newsletter in MS Word and I convert it into PDF for him. I took care of that and sent it to him and then went upstairs to watch a PBS program on scenic train rides of North America.
The program was interesting but PBS was fundraising again, and the fundraising segments were longer than the programming segments. It seems like this has been going on all summer and we are, quite frankly, tired of it. After clicking around the other channels I turned the TV off and went to sleep.