NOTE: This post has two (2) photos, with captions, taken by me (Bruce) with a Google Pixel 6 Pro.
FRIDAY 23 thru SUNDAY 25 August 2024 — BdW; AAF/AG(AA); A visit with Family
Friday 23 … A BdW guest leaves, and another one arrives; my sister has a birthday; and our painter stops by to chat.
Today was my (Bruce’s) sisters 69th birthday. Happy birthday, sis!
BdW guest Shannen J. left early this morning, headed for points east, specifically Cuyahoga Valley National Park near Cleveland, Oho.
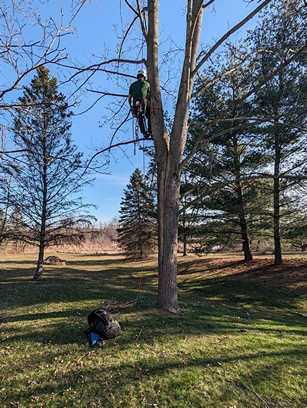
Our painter, Jim Pipoly, stopped by for pre-arranged chat concerning mobile communications options. Jim knew we were “hams” (amateur radio operators) and figured I might know something about this. Well, yes and no. I know a few things, but there are a lot of things with which I am not very familiar. Our discussion ranged from walkie-talkies and Citizens-Band (CB) radios to Family Mobile Radio Service (FMRS, which requires registration), General Mobile Radio Service (GMRS, which requires an easily obtained license), and amateur (ham) radio (which has several levels of licensing, each requiring a passing score on a written test). We also talked about short-wave radio, as a way to receive information from all over the globe.
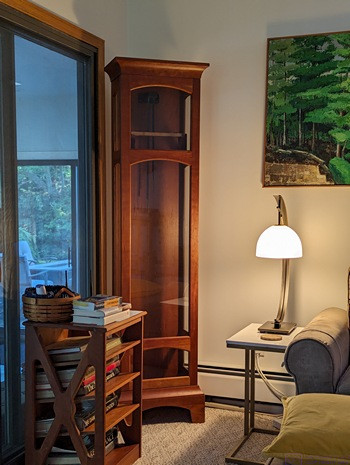
While Jim was here, we also discussed possible painting projects, both inside and outside. The inside project would involve patching and touching up paint that has been, or will be, damaged as we prepare the oak floor for refinishing, and that work gets accomplished. The major outside project is cleaning and re-staining the decks on the back of the house.
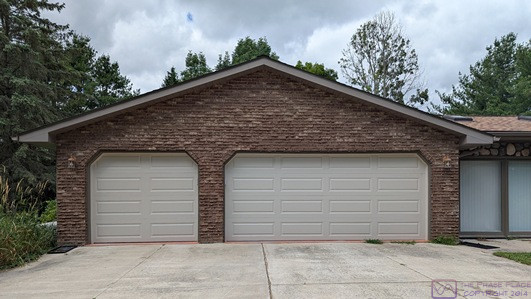
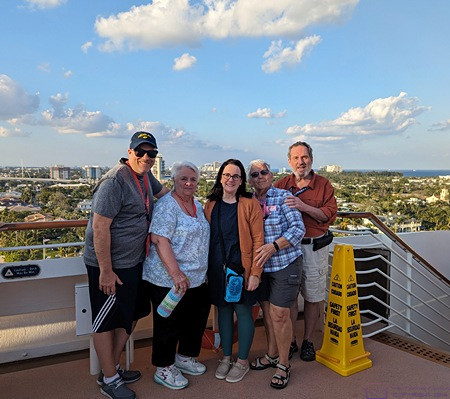
We were still chatting with Jim when BdW guests Bonnie & Jimmy D. called to say they were 30 minutes out. They arrived on time and called from the end of our street. I met them by our first driveway entrance and guided them into our guest RV site. They are scheduled to be here for five (5) nights.
Saturday 24 … A BdW guest leaves and another one arrives. We visit Ann Arbor to look at DR furniture, and swing by our son’s house to visit with his family
We had our usual morning coffee and a light breakfast and then conferred with our son about his family’s plans for the day. We drove to Ann Arbor (AA) to visit the AllAboutFurniture Amish Gallery (AAF/AG) store and see if they had the dining room table we thought we might be interested in, as seen on their website. It was also a chance to ask questions about wood, color, and finish choices, customization options, prices, and delivery times.
The table that interested us was the Seymour, a 54” diameter round, extendable, dining table that would become a 78” x 54” “racetrack” shape table with the addition of two (2) 12” rectangular leaves. A single leaf would make it a 66” x 54” racetrack shape. Our interest was finding a table that was just big enough for the two us (98% of the time) while not crowding our dining room and providing for unrestricted flow between the kitchen, dining table, rear doorwall, buffet, entry foyer, and hallway. But, we also needed it to expand to seat eight (8) people comfortably while still not restricting movement through the space. A round extension table seemed like just the thing to meet our requirements.
They did not have the Seymour in the showroom, but had one that was very similar, the Julia. It was also nice, and the salesman (Mark) thought it was a slightly better made product, but it differed in some minor aesthetic details that were important to us. AAF/AG has relationships with many Amish furniture/cabinet makers in Indiana and elsewhere, and most of their products have to be ordered. Delivery time for either table would be 12 – 14 weeks from when the order was placed, with something like 50% down.
The table was paired with a chair (Mariana) that we really liked. The back was low, it mirrored the shape of the table legs, and had a comfortable (padded/fabric) seat in a fabric that we liked, and did not have a fabric back (Linda does NOT want a fabric-backed chair). We made note of the name and clarified available woods and finishes. The one on the floor was Brown Maple with a Tavern 10 Sheen finish and C2-39 Birch fabric for the seat. We also looked at a buffet/sideboard that might work well with either table, and made note of that as well. Mark wrote up a quote for us to take home and ponder.
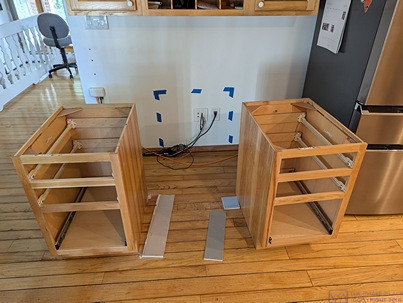
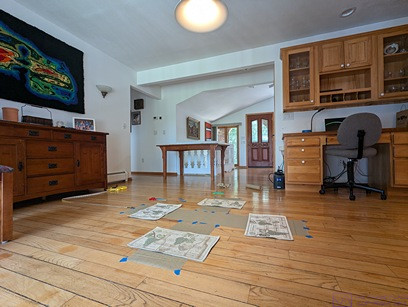
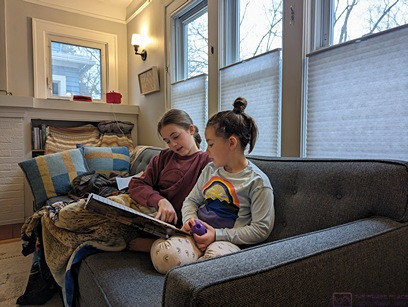
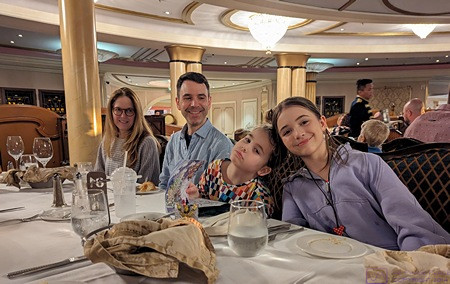
When we were done at the furniture store, we went to our son’s house to visit. The grand-daughters start school on Monday, and we will not really be able to host visitors at our house until the floor refinishing project is done, which includes removing the railing for the basement stairs for the duration of the project, repairing drywall (patched and painted), and then installing a new (Cable Bullet) stair railing as well as putting furniture and appliances back in place and re-connecting the later.

The front portion of the wine refrigerator as seen from above with one of the racks pulled all the way out so I can photograph the bottles on that rack before removing them for transport to the basement.
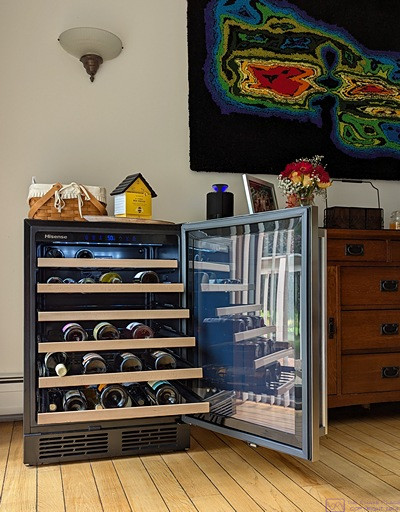
Back home, we moved the wine refrigerator to the basement. This was one of the three appliances sitting on the oak floor that had to be put somewhere else while the refinishing work was being done. We don’t access it every day and decided it could just live in the basement going forward. It was fairly full, so I unplugged it and unloaded all the bottles. The bottle racks in this wine refrigerator have extension slides, the bottles can be completely revealed. I removed the bottles one rack at a time and photographed each rack before removing them.
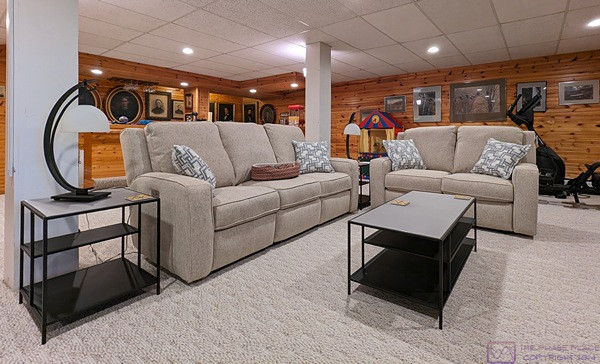
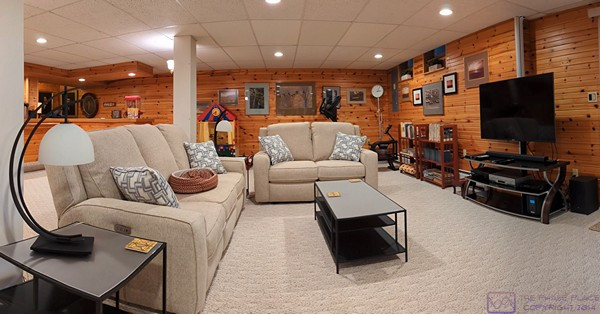
We moved all of the wine bottles to the basement, keeping them organized by rack as best we could. We then moved the wine refrigerator down the basement stairs using a dolly. As seen in the following photograph, the wine refrigerator is short, just under waist high on me, and was not too heavy. We positioned it at one end of our “L-shaped” bar because it fit there nicely, and there was already a 120VAC/15A receptacle at that location.
Sunday 25 … Need to figure out what we did today
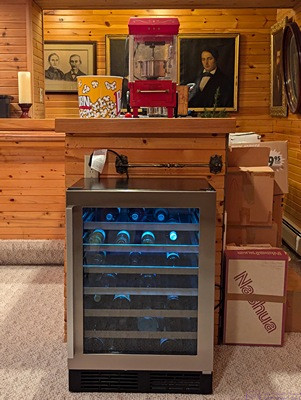
The wine refrigerator in its new location in the basement at one end of our L-shaped bar, with all of the bottles put back on the same racks, and in the same locations, where they were previously stored. You know … because. (Paintings behind the bar is part of our “dead relatives gallery,” all from my side of the family.)
Since I have no notes from today, and there is nothing on our calendar, I presume we took the day off and relaxed a bit. We had been working hard in recent days, and we deserved a break.
…