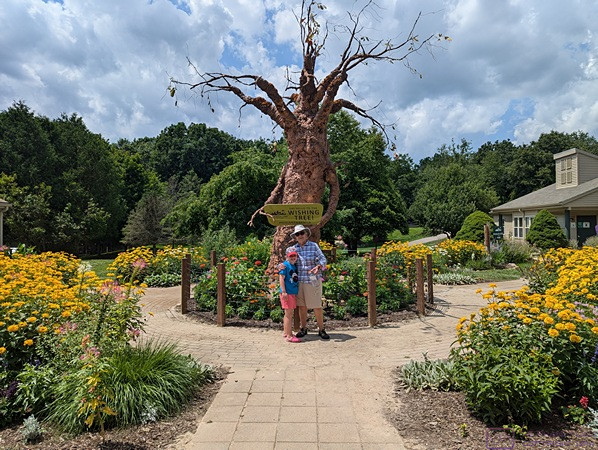
NOTE: This is a long post that includes four (4) photos with captions. Photos taken by me (Bruce) with a Google Pixel 6 Pro unless otherwise indicated. (Photo by Linda taken with a Google Pixel 6.)
MONDAY 22 thru SUNDAY 28 July 2024 — A busy BdW week and then some; laundry appliances, more yard work, and a gathering of neighbors
Monday 22 … An anniversary, laundry appliances, and a new pair of glasses
The younger of Linda’s two older brothers (Ron) and his wife (Mary) were married on this date in 1995, so today they celebrated their 29th wedding anniversary. They life near Hershey, Pennsylvania, so we do not see them as often as we would like.
While we were enjoying our coffee and using our iPads, our neighbor, Gail, stopped by to chat. Linda had sent out invites to our neighborhood friends for a get-together on Sunday (28th) and Gail let us know that she and Mike would attend.
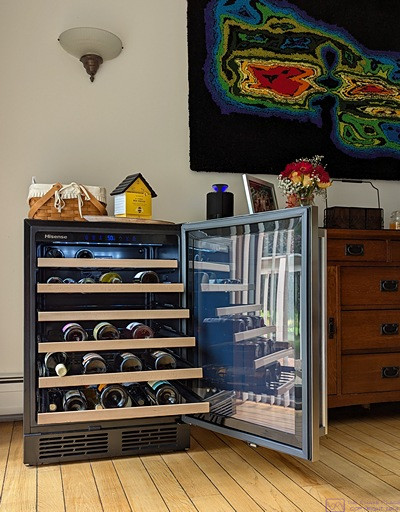
We worked fairly hard on our yard this past weekend, and were satisfied with what we accomplished, so we decided to give yard work a pass today. We spent the mid-morning looking at laundry appliances online—washers and dryers—as our current ones seem to no longer be performing at their best. We bought them almost exactly 20 years ago, and moved them from our previous home when we moved to our current location 9 years ago.
The dryer, in particular, seems to be under-performing, failing to get a load completely dry by the end of a cycle, even through it has a moisture sensor feature. It also has an annoying (lack of a) feature, in that I cannot tell it to just run for a fixed amount of time at a set temperature. The moisture sensor seems to always be in play. This has been true since it was new, but perhaps it no longer senses moisture as well as it should. The washer still works, but the tray that holds the detergent (softener, bleach, etc.) is sometimes full of water at the end of a cycle. That was never the case until recently. We could probably have them repaired, but newer/better technology is now available, especially as regards efficiency.
I have been intrigued for a while by heat-pump (ventless) dryers. They claim to be 3 – 5 times more efficient than electric dryers, but I have not seen a comparison with gas dryers. While all variety of home appliances seem to be moving away from natural gas (or propane) we have natural gas to our house, and use it for heating (space and water), cooking (including an outside grill), and for our whole-house generator. Gas is, therefore, an option for us, but it has two downsides: 1) It would still be a vented dryer. Even if the dryer is more efficient than an electric model, it still draws air from inside the building and vents it to the outside. That air gets “made up” with air from outside the house—cold air in the winter and hot air in the summer—which puts an additional load on our HVAC systems; 2) We might want to move the laundry from the basement to the main floor of the house someday. Our pantry is already plumbed and wired for a laundry (water, drain, and power for a washing machine), but does NOT have a dryer-specific electrical receptacle and does NOT have a vent.
From prior research and recent reviews, the dryers of most interest to us are made by Miele. It’ a premium brand, and the one most seen in high-end boats and yachts, both kitchens and laundries. That means they are pricey, but because they are a European company, they also tend to be smaller than standard USA units, with approximately 1/2 the capacity. While that might be considered a negative, it would allow them to fit easily in our kitchen pantry space, and adding a dedicated 120V/20A circuit for it would be relatively straight-forward. I would need to do smaller loads more often, but I sort of do that already. Not a deal-breaker in any event, but something to consider in making this decision.
For breakfast, we had a Just Egg scramble with plant-based sausage in it, served on a piece of toast, with half of a “cutie” orange and half of a banana on the side. A right-sized, tasty meal. After breakfast, Linda did the menu planning for the rest of the week and made a grocery list. I suggested that before going to the supermarket we go to the SVS Vision Center in Brighton and have her order a new pair of glasses.
She selected a FLEXON frame (just as I did, but not the same one) with progressive lenses that darken with exposure to sunlight. With the order placed (and paid for), we stopped at the Brighton Meijer’s for groceries. The store is undergoing a major renovation, but parking was not a problem and it was easy to navigate the store and find what we wanted. As part of the renovation, they are installing new upright refrigeration (and freezer) units; the ones with doors that open out. We don’t know what else the renovation will involve, but we suspect it will be extensive. Being in the heart of Brighton, this particular Meijer’s does a LOT of business
Once home, with the groceries put away, Linda went for a walk while I went to my desk to work on blog posts and clean up e-mails.
Tuesday 23 … A Funeral
Earlier this month, our Friend, Diane’s, mother (Helen) had her 100th birthday. She had a good, long life, living independently in an apartment until her late 90’s. She was in a care facility not far away from Diane and John’s house, so they had a party for her at a facility nearby so she could attend. Much of her very-extended family made it to the party, even those who had to travel some distance. She passed away last week, and today was the funeral mass, celebration of life, and luncheon. We were invited, and of course we attended.
Many years ago, when our children were still at home, John and Diane would host large family gatherings that included relatives from both of their families. We lived nearby, and had become good friends, as had our children, and we were often invited to these gatherings. Being from out-of-town, and not having any relatives or long-time friends in the area, we appreciated being included and always had a good time. As a result, we met most of their siblings and their spouses and children. We even got to know a few of their “clan” members. With everyone’s children grown and off making their ways in the world, they no longer host these large gatherings, so we had not seen most of the people in attendance at the funeral for quite some time. There was mutual recognition with the ones we had known best, and a chance to meet and chat with some that we had only heard about over the years.
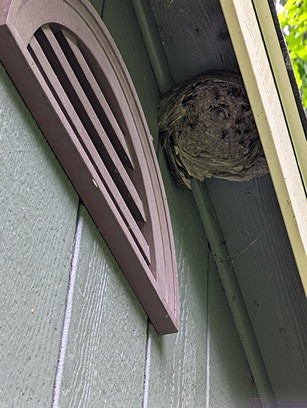
Wednesday 24 … A right, and a responsibility, and something unhinged
We recently received our mail-in ballots for the upcoming August primary elections. We filled them out this morning and dropped them off at our Township office. We have voted in almost every local, state, and federal election since we became eligible to vote. I say “almost” as we might have missed a library or city council election somewhere along the way, but if so, it has been very few. Indeed, we think that voting for the local library board is as important as voting for representatives, senators, governors, and presidents. It is a right that is meaningless if it is not exercised, and we feel it is a responsibility of citizenship to do so.
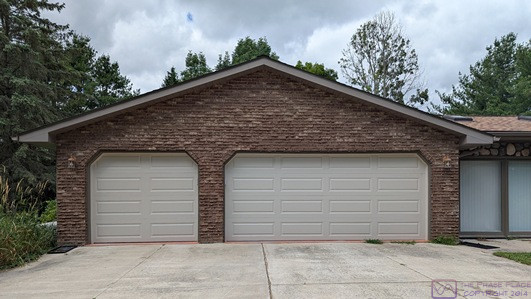
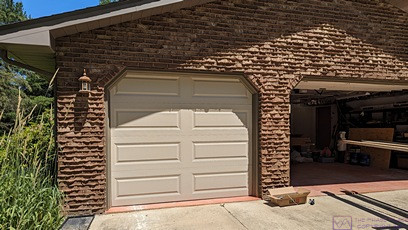
Dan (Everlast Doors) stopped by mid-late afternoon to work on the garage doors. I had discovered that one of the hinges on the smaller door was missing an attachment screw on its upper portion and that the other screw on that portion was not fully seated. Since the doors are new, I did not want to take on the task of installing the missing screw, lest I not do it correctly. While Dan was there, we discovered several more missing screws on the large door, and he installed them as well. He checked both doors to make sure they would still open and close correctly, which they did. Dan did a nice job with the installation, and has been quick to follow up on any issues, which have been few and minor.
During the evening, we watched the opening ceremony of the Summer Olympics, officially The Games of the XXXIII Olympiad, aka Paris 2024.
Thursday 25 … Different day, same routine and chores
Linda met up with our daughter, Meghan, for a walk this morning. There was nothing else on our calendar for today. I failed to make any notes about what else happened today, although I suspect we worked in the yard. Late in the afternoon, we got a text message that a pair of glasses was ready at SVS Vision Center in Brighton, but it didn’t say if they were for me or her (we both have pairs on order).
Friday 26 …
BdW Members Patrick & Ruth W. left sometime during the morning and BdW members Ted & Peg H. (NatlParkEnthusiasts) arrived around 13:00. As always, I met them in the street just before our first driveway entrance and directed them into our guest RV site. We chatted briefly and then left them to setup while we ran errands.
We needed to pick up some things at Costco, so we stopped at SVS Vision Center on our way. A sign on the door indicated they were closed today through Monday the 29th. No further explanation offered, but none really needed either.
Saturday 27 … Yard work, fire, and shop stands

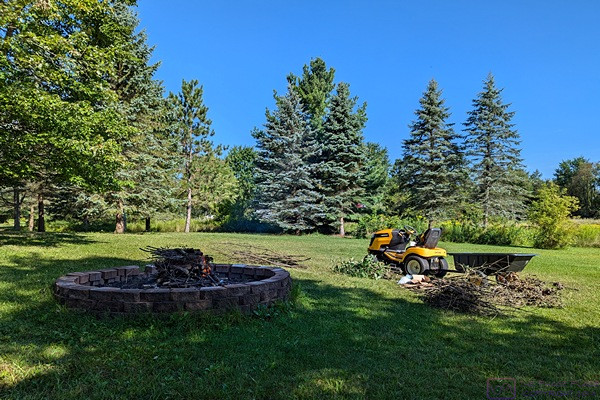
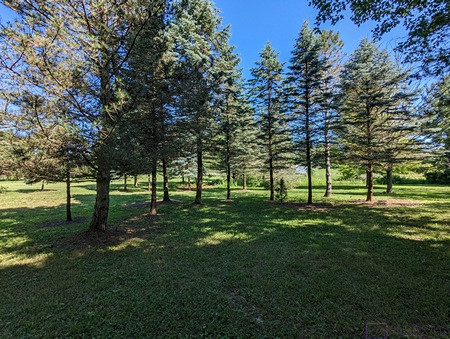
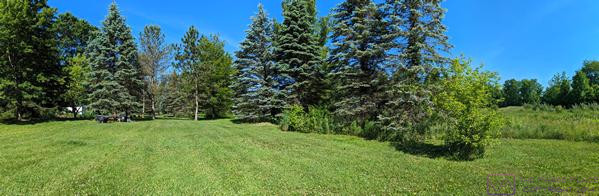
Our fire circle (burn pit) with pieces of branches and twigs neatly piled, ready to serve as the center of our next yard detritus fire.
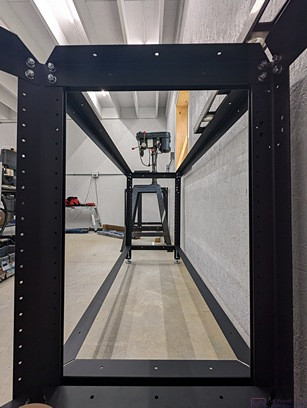
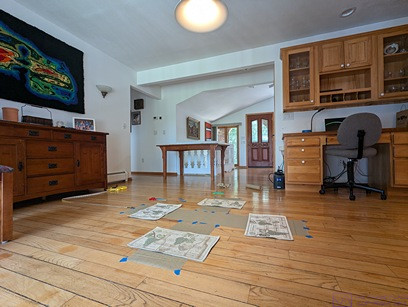
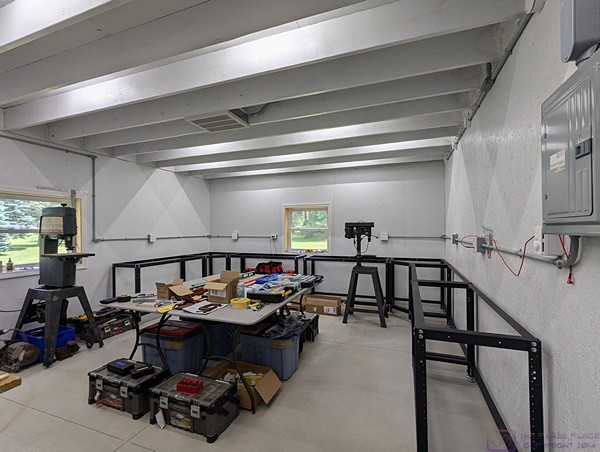
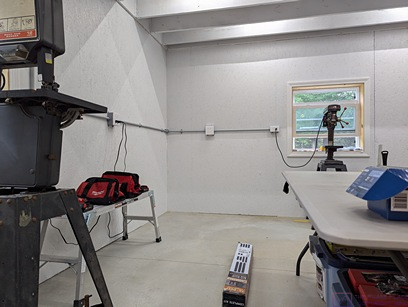
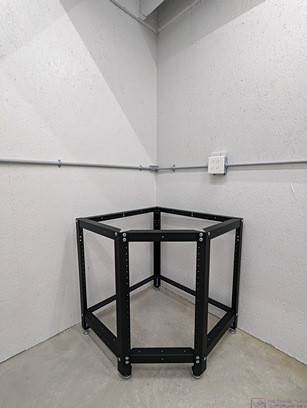
This photo was taken from inside the Rocker Work-Steady Corner Stand in the SE corner of the workshop (in the barn) looking north along the E wall through two of the Work Stands and into the Corner Stand in the NE corner of the workshop.
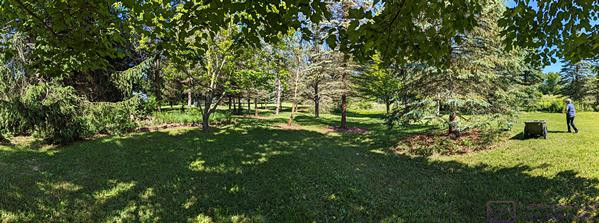
We had enough material in our burn pit to justify starting it on fire, but we prefer to do that on days when we can also work in the yard, either gathering up additional downed material or pruning dead branches from trees. Well, today was one of those days, so we got to work sometime before mid-morning.
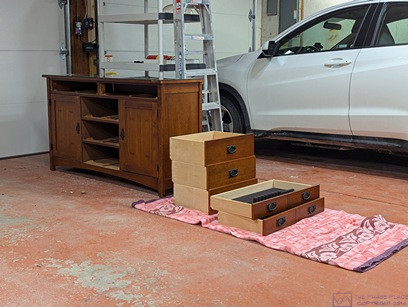
In the early afternoon, a UPS truck showed up and delivered 3 of the 4 Rockler Rock-Steady 32” 4-pack leg sets, still leaving me short one (1) set of legs. Later in the afternoon, I decided to start assembling one of the two corner stand kits and opened the boxes of required parts. To my dismay, the leg set I opened had two bags of nuts/washers (there should only have been one bag) but NO bag of bolt. Thirty-two (32) bolts (size 5/16-18 x 3/4”) are required to attach a set of 4 legs to all of the upper and lower stringers. I opened the other three leg sets and was relieved that they all contained the right parts.
Sunday 28 … Chores, projects, and Friends/Neighbors
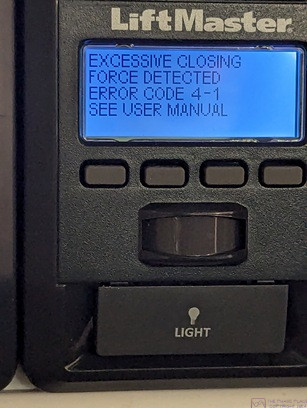
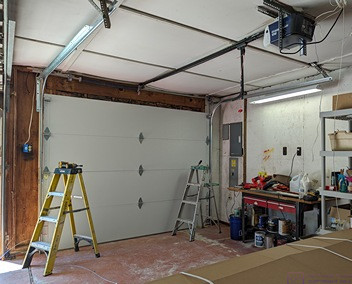
Error code and message on wired remote control for our smaller garage door.
When Linda left to go to the grocery store, the smaller garage door did not finish closing; it stopped, reversed direction to the fully open position, and displayed an error code/message on the wired remote by the door into our library “Excessive Closing Force Detected.” I eventually texted Dan (Everlast Doors) to let him know.
Today was a partial laundry day, a partial shop work table assembly day, and a party preparation day. They first two items were mine, the last one was mostly Linda’s. The neighbors arrived around 6 PM. Mike was not able to attend at the last minute, but Gail came anyway. Linda had prepared some food (snack) items, and everyone brought sometime to add to the table, as well as their own beverages. Marta and Gary were accompanied by Marta’s sister, and Rose and Jerry as came. It’s a small circle of neighbors who are lively conversationalists, and we feel fortunate to have them as friends. Everyone stayed until after it got dark.
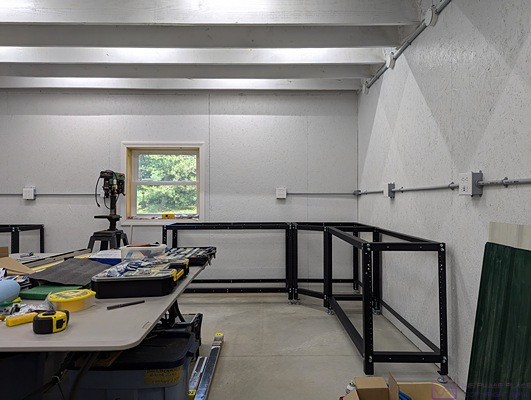
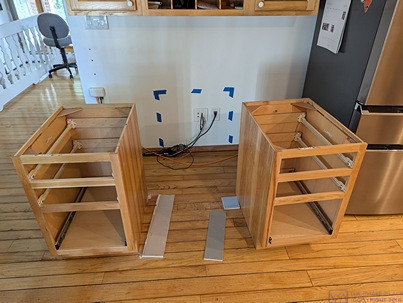
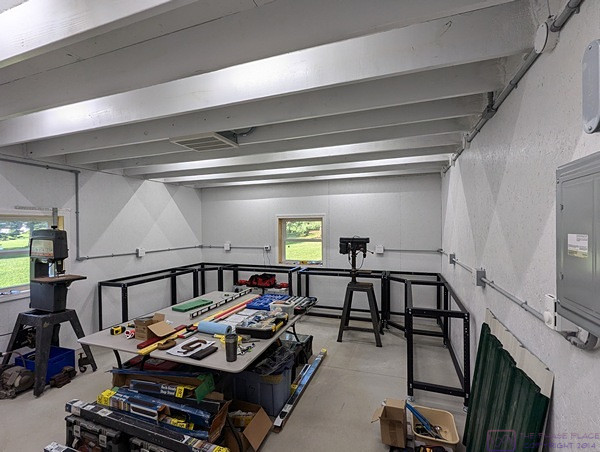
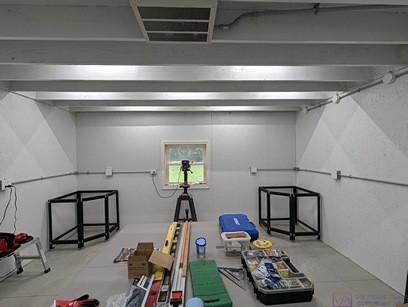
A view of the east end of the workshop in the barn with a Rockler Rock-Steady Corner Stand in the SE corner with two (2) 56” x 20” x 32” Work Stands attached to it. None of the work stands have top surfaces, shelves, or drawers yet as I was still pondering configurations and materials.
…