Blog Post for June 2023
This post consists of 23 photos with captions. It continues the wiring of the barn, but also includes some family, friends, and home photos, including a new refrigerator for the house. The term “conduit” refers to Schedule 40 PVC electrical conduit. All photos by Bruce unless otherwise attributed (Linda).
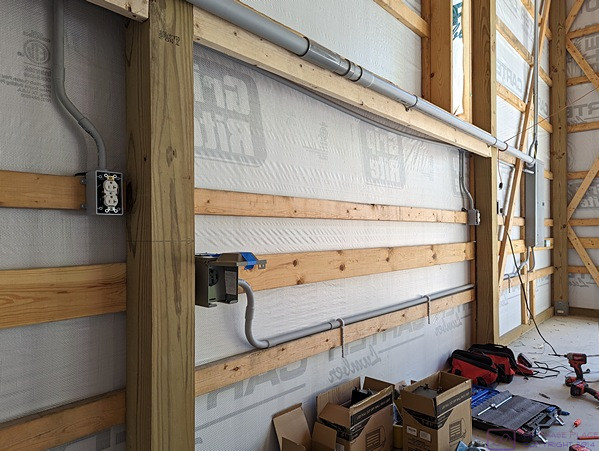
The east wall of the barn (RV trailer bay). Main Load center (electrical distribution panel) right-center. Large horizontal conduit carries the 100A feeder cable to the sub-panel for the shop/storeroom. The mounting board for this large diameter conduit conceals a smaller diameter horizontal run for the utility receptacles, one of which is visible left-center (left side of the 6×6 post) along with its conduit drop. On the right side of the 6×6 post is the 120/240VAC / 50A RV receptacle for the travel trailer and the conduit that carries the wires from the load center running along the top edge of the bottom girt. Conduit also runs vertically out of the top of the load center and up to the roof trusses, but is difficult to see in this photo.
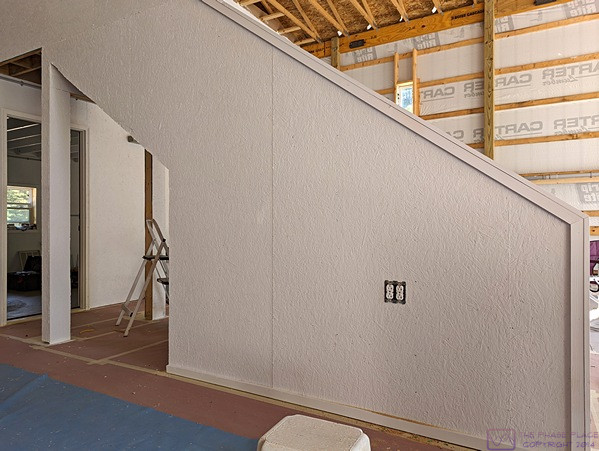
The left/west side of the staircase to the storeroom above the shop. An outlet box opening with a pair of duplex 120VAC/20A receptacles is visible in the staircase sheathing. A matching outlet box and receptacles are installed on the other right/east sidewall of the staircase. The wires for these receptacles come in from a T-body above the shop door. The two RV bays are really one continuous space, except for the staircase, so this was the only practical way to get power to the center-middle part of the barn.
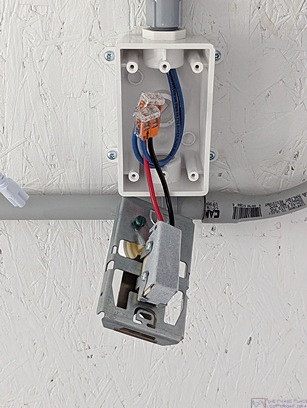
The outlet box and thermostat for the electric shop heater. The heater and Tstat are 2-pole, 240VAC devices. This photo shows a WAGO snap connector suitable for the 10AWG wire used to supply the heater.
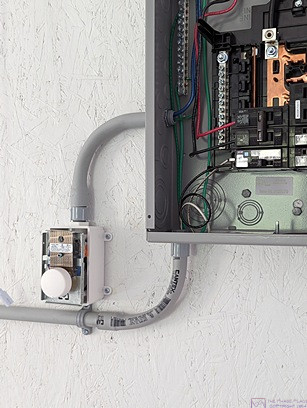
The thermostat for the shop heater installed in its outlet box at a little over 4’ above the floor, and conveniently close to the shop sub-panel.
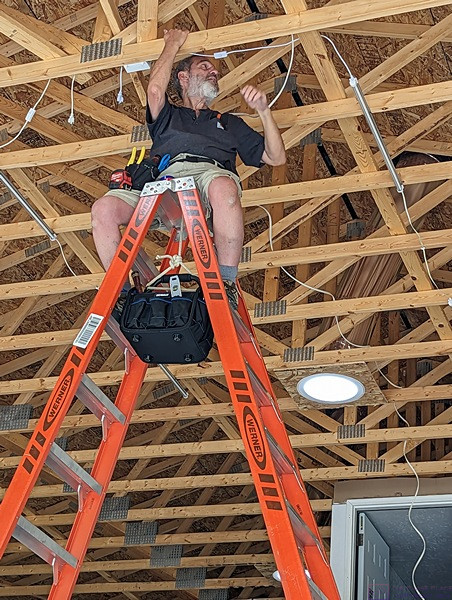
Bruce straddles the 14’ step-ladder so he can sit and work comfortably on the outlet boxes / receptacles for the LED linear light fixtures for the front center part of the barn. The white disc behind him is one of the four VELOX Sun Tunnel’s in the barn ( three in the RV bays and one for the storeroom).
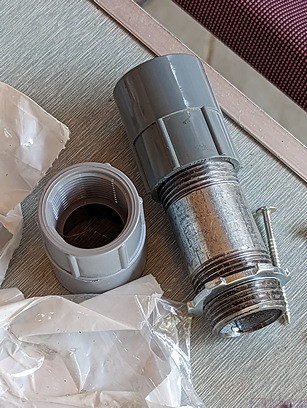
A short galvanized steel “nipple” (threaded on both ends) and threaded PVC conduit adapters. There use will be more obvious (?) in the next three photos. Bruce had to drill holes through horizontal girts to get wires to the four outdoor flood lights on the front of the barn. (A girt is a 2×4 installed “on the flat” for lateral structure and steel siding attachment). These nipples and fittings attached to the light fixtures, sealed the hole, and protected the wires.
Bruce is working on one of the access/mounting holes for one of the four exterior flood lights on the front of the barn. The lights are being installed at the 12’ level up from the floor, in part because there were girts at that level which made the installation more convenient than putting them higher up. It was also high enough to provide good coverage at ground level for the entry door and both RV bay rollup doors. (Photo by Linda)
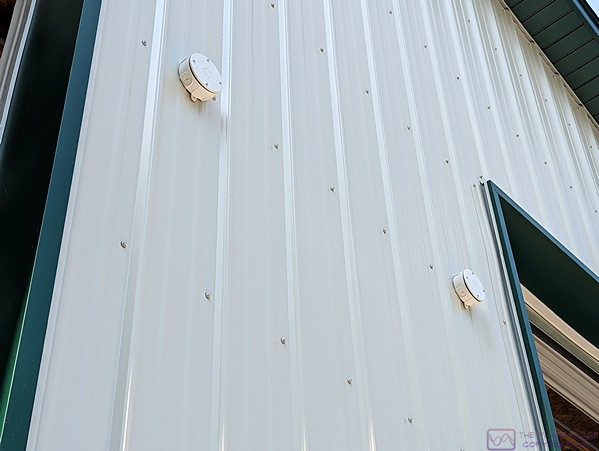
Shown here are the two exterior (weatherproof) outlet boxes between the large bay doors and above the entry door. The flood light fixtures will attach to these outlet boxes. Both boxes and the fixtures are white, to blend in with the white siding on the barn.
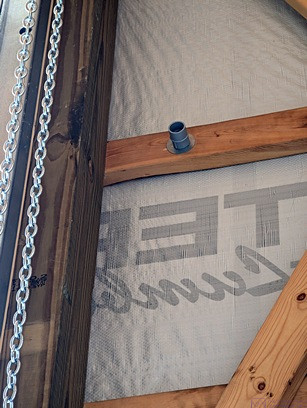
One of the nipples with the conduit adapter installed in the girt just to the west of the east RV bay door. The chain at the left edge of the frame is the operator for the rollup door. These doors can be motorized later, if we wish, but they are easy enough to operate manually.

Our youngest grand-daughter having a conversation with her “grandma N” (our close friends and travel companions). (Photo by Linda)
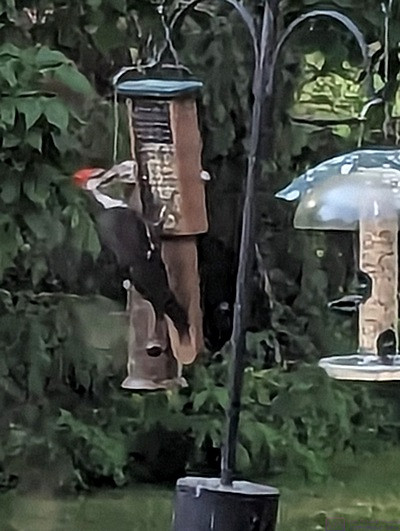
A Pileated woodpecker visits our larger woodpecker feeder. We know they are in the area as we often hear them “drumming” but they are rarely seen, and only very briefly when they are. Linda was lucky to get this photo.
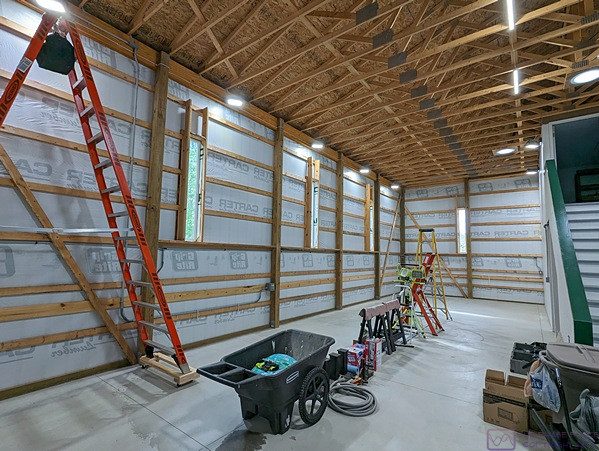
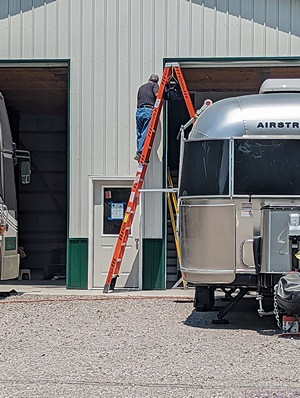
A view to the rear of the large/west RV (bus) bay in the barn. Tools and materials are lined up down the center to make space for the 14’ step-ladder around the edges so Bruce could install and wire the lights (which are on in this photo). Stairs up to the storeroom are partially visible along the right edge of the image.
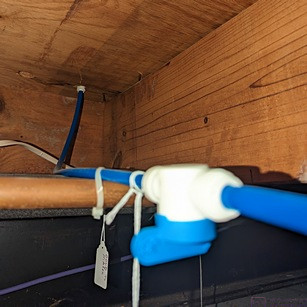
This PEX cold water line and shut-off valve T’s off of a main run in the basement of the house and up to a coupling (the white thing that is partially visible in the floor board) for a water line to the refrigerator.
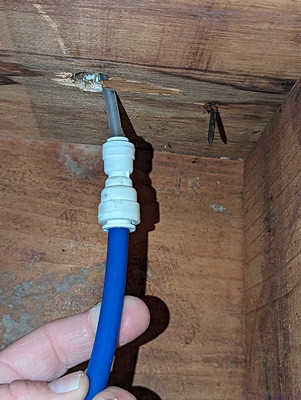
This photo shows the water line coupling pulled down out of the hole in the floor board. The translucent line going up through the floor board is the water line to the old refrigerator. The fridge is being replaced, and this line needed replacing too.
One of the 10 or so area/downlight fixtures installed around the top frame members of the barn side walls in the RV bays. They are outdoor rated, 2-part fixtures, with the LEDs and driver module in the removeable cover, while the base plate has openings for wire glands, mounting screws, and a ground screw. Towards the lower right of the base is a small horizontal green “thing”. It’s a bubble level, which made it easier to get each base installed parallel to the floor. Because these are over 15’ from the floor, out of reach of anyone (except someone named “Bruce” working on the roof of the bus) Bruce used NM-2 (non-metallic 2-conductor + ground) shielded cable (generically referred to as “ROMEX”) instead of running conduit. He ran pieces of cable between adjacent units, securing it to the top frame members with cable stapes, and used weather tight strain-relief glands at the entry points into the units. There is a rubber seal between the two pieces of the unit, making the unit weathertight when properly installed. WAGO wire connectors were used to tie the NM-2 wires and the fixture wires together, placing all of the fixtures in parallel on the circuit. The lights for the east and west bays are on separate circuits and are switched using their respective SD (switch duty rated) circuit breakers in the main load center.
The inside of the front wall of the barn on the east side of the entry door. The outlet box at the top has two single-pole, single-throw (on-off) switches. The one nearest the door is for the four outside floodlights on the front of the barn. The other switch is for the interior center lights. These lights illuminate the open area between the entry door and the staircase to the storeroom, as well as the stairs and landing, and the floor on either side of the staircase. This ensures safe/lighted entrance to the barn, the storeroom, and the shop door under the staircase landing. Also shown is an outlet box with duplex receptacle towards the bottom of the frame.
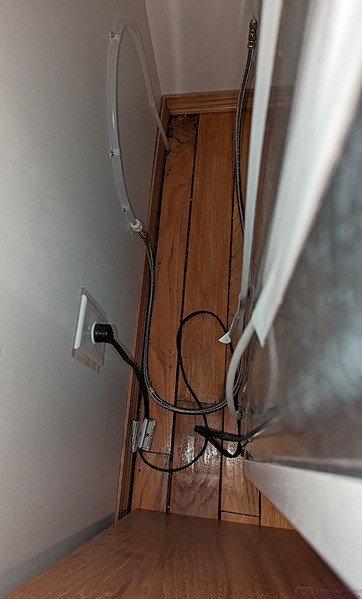
This is still the old refrigerator in the house kitchen, but Bruce has installed a new/clean translucent water line and replaced the old duplex electrical receptacle with a new, single one. We had not used the automatic ice-maker in this fridge since we bought the house and the water line was shut-off at this point.
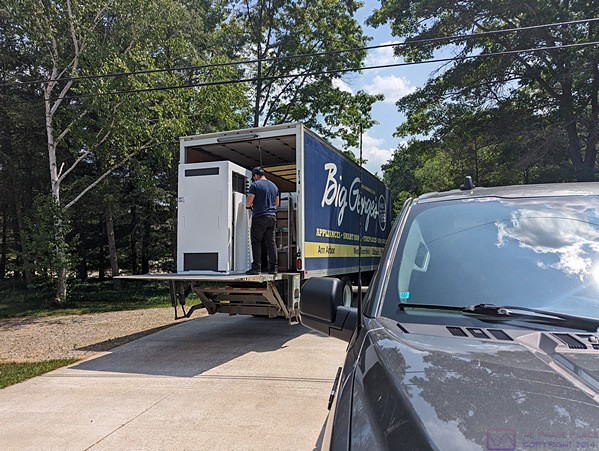
We bought the new refrigerator from Big George’s in Ann Arbor, Michigan. This is our old refrigerator being loaded into their truck.
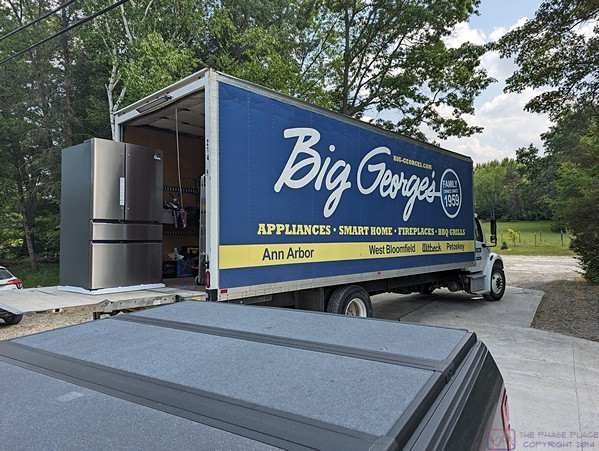
Our new refrigerator being unloaded from the delivery truck. The Big George’s crew did a great job of removing the old refrigerator and installing the new one.
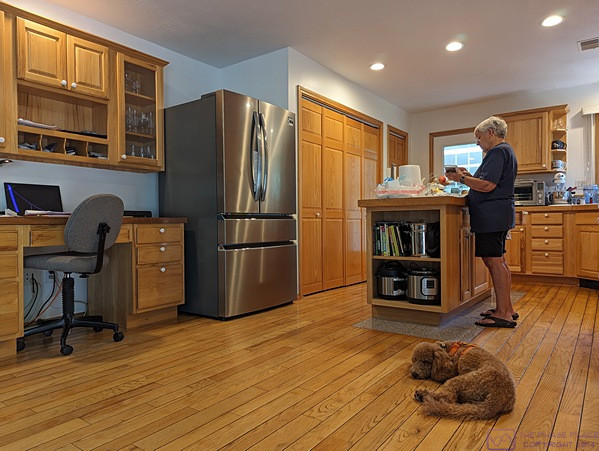
Our new refrigerator takes center stage in our kitchen. Linda studies the directions for getting the interior ready to use while Bella (Paula and Nan’s dog) chills out on the floor. (We took care of Bella while they went on a family vacation.) Although not obvious from this photo, the new refrigerator is wider than our old one. As part of the preparation for getting it installed, we had to move the wall cabinet over the desk ~8” to the left. We also had to move the desk, but that was easy. Up to this point, all of our appliances have been white, but we had to go with something else in order to get the model/features we wanted. In time the other major appliances might get replaced/upgraded to stainless steel, but the fact that everything doesn’t match does not bother us.

The new refrigerator is a French door model with two pull out drawers. The lower/larger drawer is the freezer, and has a sliding tray inside it. The upper drawer can be a fridge or a freezer. We decided to use it as a fridge as we do not typically stock a lot of frozen items.
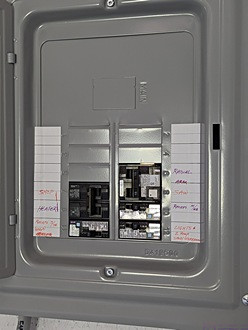
The sub-panel in the barn shop with the cover on and the labels in place.
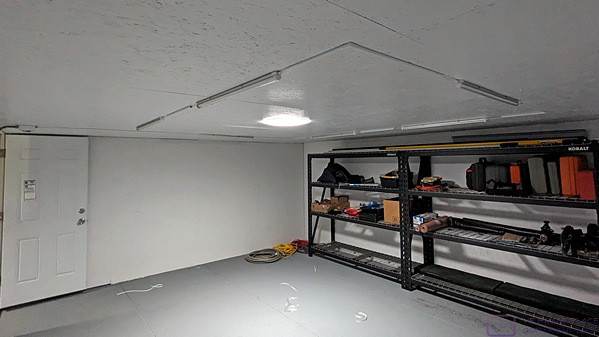
Another look at the barn storeroom showing the ceiling lights with the interconnecting wiring nicely secured and dressed. Entry door is at the left. Some of the Kobalt (Lowes) heavy-duty shelving across the rear wall.
…