This post consists of 21 photos with captions. It is mostly about the installation of the barn electrical system, with a few family photos thrown into the mix. The term “conduit” refers to Schedule 40 PVC Electrical Conduit. Photos by Bruce, unless otherwise indicated.

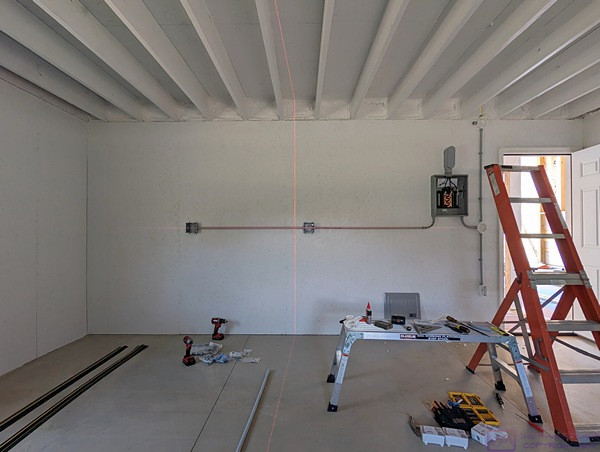
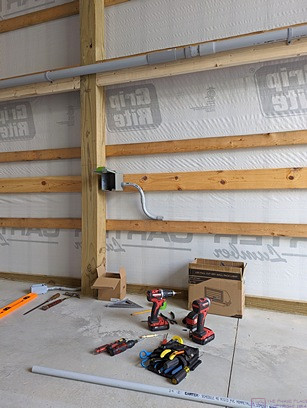
Barn shop looking south towards door. Shop sub-panel center left. Laser Level (bottom left) being used to align PVC electrical conduit vertically and horizontally.
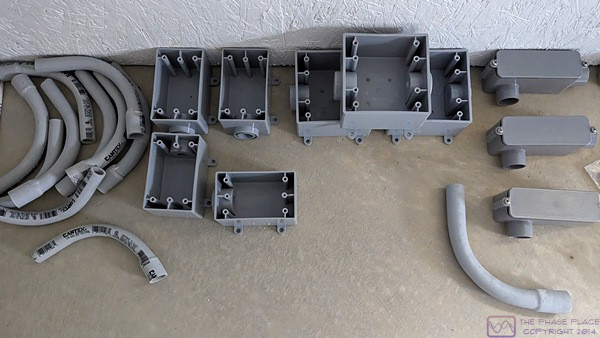
Some of the conduit components used in the wiring of the barn; shown are elbows/sweeps, outlet boxes, and conduit bodies.
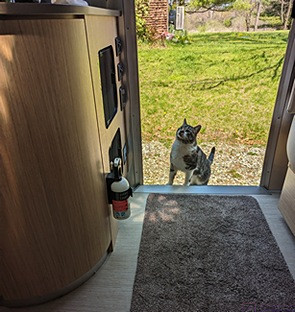
Cabella (who is not our cat but hangs around our house) checks out the entry to our Airstream travel trailer while it is parked in front of our house. (Photo by Linda)
A view of the south wall of the shop in the barn early in the process of installing the conduit.
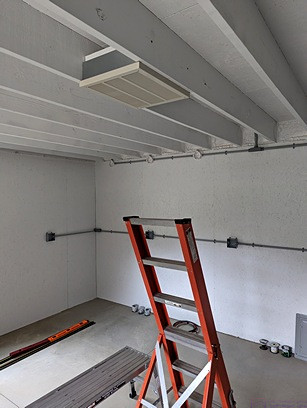
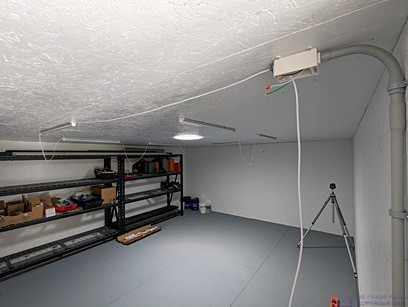
The barn shop looking SE with a bit more conduit installed. Note the electric heater mounted between the ceiling joists.
A view of the storeroom above the shop in the barn as seen from the door in the SW corner looking NE. The vertical conduit at the right edge of the image comes up from the shop sub-panel to an outlet box for a 120V/20A duplex receptacle (not visible), then to an outlet box for a light switch (also not visible), and then to an outlet box on the ceiling where the wiring for the ceiling mounted LED lights ties in.
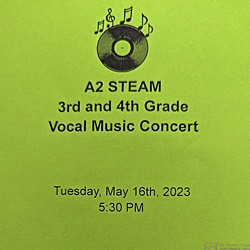
The program cover for the A2 (Ann Arbor) STEAM (Science, Technology, Engineering, Arts, and Mathematics) end-of-year 3rd and 4th Grade Vocal Music Concert. In addition to singing, the concert involved a lot of recorder playing. Our middle grand-daughter attends this school. (Photo by Linda)
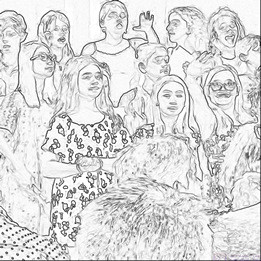
The 4th grade vocal group for the A2 STEAM Vocal Music Concert. Our middle grand-daughter is front/left in the photo (highly patterned dress). (Photo by Linda)
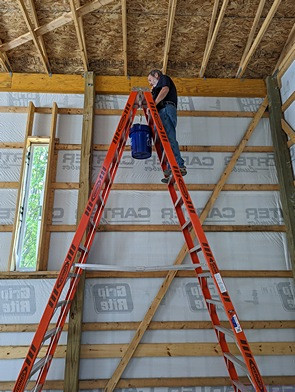
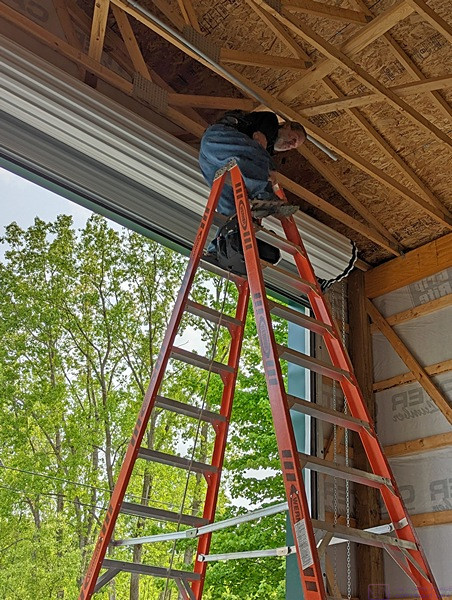
Bruce working at ceiling height (16’) in the barn using the 14’ step-ladder. He is probably working on the wiring, as there is no other reason to be at ceiling height in the NW corner of the barn, but it’s not obvious what he is actually doing. This photo is mostly to show the ladder. (Photo by Linda)
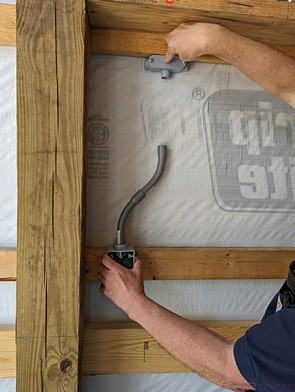
Bruce holding some conduit components in position to show how they will fit. Conduit will run horizontally to the upper T-body and then down through the double 45-degree elbows into the outlet box. The horizontal conduit will pass behind the 6”x6” posts, penetrating the vertical 2”x4” spacer blocks located there (that space the horizontal girts).
A view of the E wall of the smaller (east) RV (trailer) bay. The large conduit near the top of the image will carry the large (100 A) cables from the main electrical distribution panel (out of the frame to the right) to the south wall of the shop (out of frame to the left), and then across the wall to the entry point into the shop, just above the shop sub-panel. The outlet box (center/left) is a special metal RV outlet box with a 120/240V / 50A RV shore power receptacle. The conduit that supplies this outlet box will run along the top of the lower (horizontal) girt before sweeping up and into the box as shown.
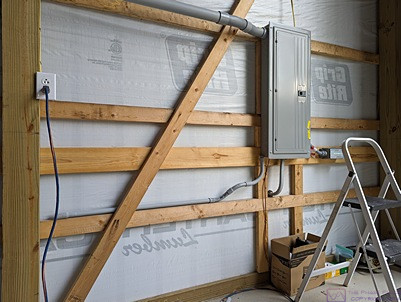
A view of the SE corner of the barn showing the main electrical distribution panel. The large conduit for the feeder cable to the shop/storeroom sub-panel comes out of the left side of the panel at the top. The smaller conduit for the 50A RV receptacle comes out of the bottom left of the panel and sweeps down to the horizontal girt before running aft. In-between these two conduit runs will be another one to supply the utility receptacles for this bay.
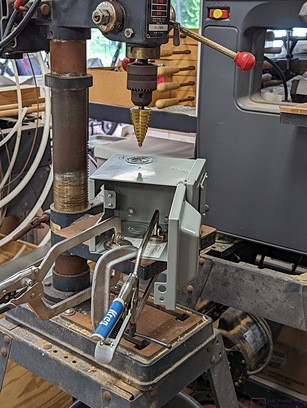
Bruce needed to bring the conduit and wires for the RV outlet boxes into one of the sides but the RV outlet boxes did they not have pre-punched holes for this fitment. In this photo, the box for the west (bus) RV bay is clamped to the drill press table and a step drill is being used to drill the correct size hole.
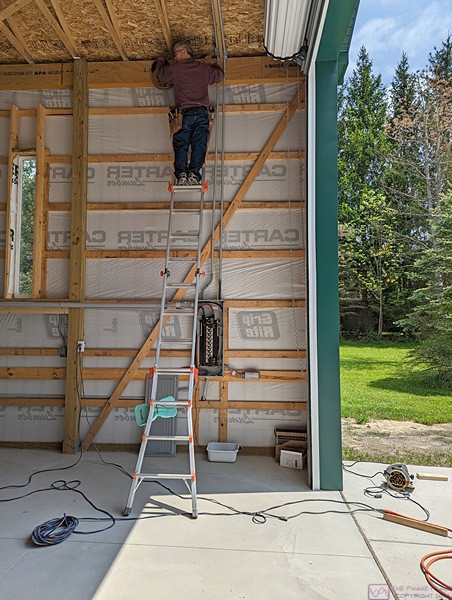
Bruce maneuvers around the top of the 14’ step-ladder near the 14’ rollup door for the west (bus) RV bay. He is installing conduit along the faces of the bottom cord of a roof truss to get power from the electrical distribution panel on the east wall (to the left in the photo) to the front and the west sides of the barn (to the right in the photo). (Photo by Linda)
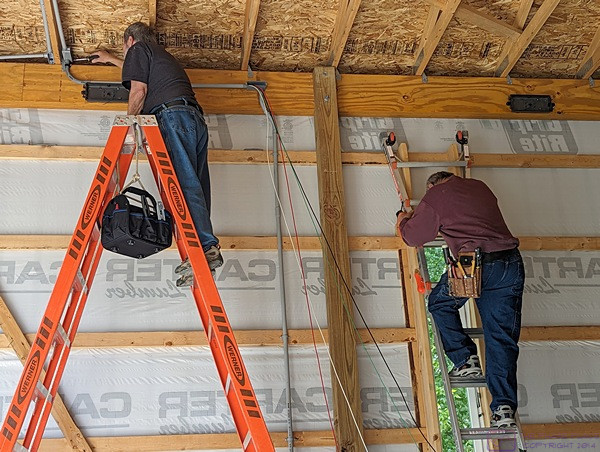
Our friend and fellow busnut, Marty, agreed to help Bruce run the wires through the conduit, much of which proved to be a 2-person job. Here he is using the 7’/14’ Little Giant step/extension ladder in full extension mode to work at ceiling height directly above the main electrical distribution panel on the east wall (SE corner) of the barn. The roll-up door for the east RV bay is visible. The clear opening is the same as the west RV bay; 14′ high x 12′ wide.
Bruce (left) and Marty (right) pulling wires through conduit on the west wall of the barn. The vertical piece of conduit in-between them runs down the wall and then sweeps towards the rear of the barn (to the right) to carry the wires for the west (bus) 50A RV receptacle. (Photo by Linda)
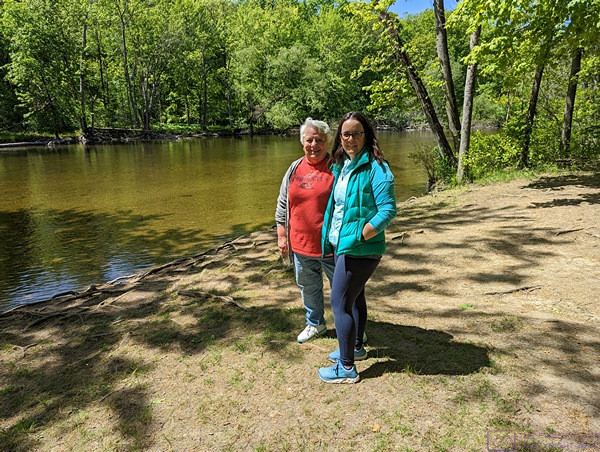
Linda’s sister (Sr. Marilyn, on the left) came up to visit and joined Linda for a walk at one of the Metroparks with our daughter (on the right). (Photo by Linda)
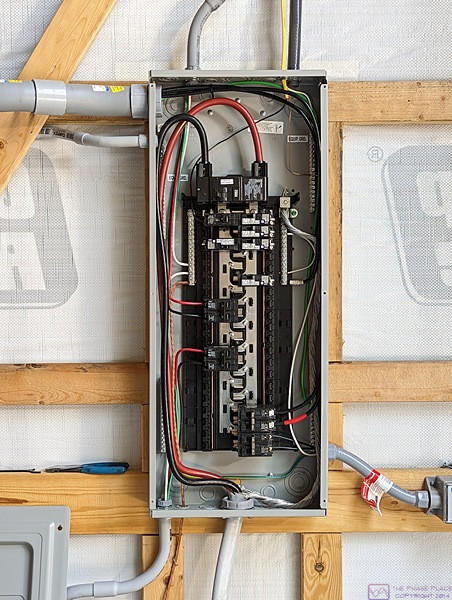
The main electrical distribution panel for the barn showing all of the wires terminated to appropriate circuit breakers. The two large wires at the top are the 240VAC service entrance cables from the meter, which is on the outside of the wall behind the panel. The large, light grey cable entering the center bottom of the panel is the service entrance cable from the meter. There is also a large bare aluminum neutral wire terminated to the neutral bus just to the right of the red wire (not as easily seen in this photo). The black and red wires are “live” (energized) at all times as an external disconnect was not required by the electrical code revision currently in use in our county and so the builder’s electrician did not install one. Had I been paying closer attention when the electrician was on site, I would have asked for this external disconnect as an added cost feature. The red and black wires feed a 200 A main circuit breaker that serves as the “main disconnecting means” for the entire barn. When the panel cover is off, as shown here, this main breaker is usually open so that nothing else in the panel is energized and work can be safely performed. The exception to the rule is when Bruce needs to perform diagnostics by taking voltage and/or current measurements.
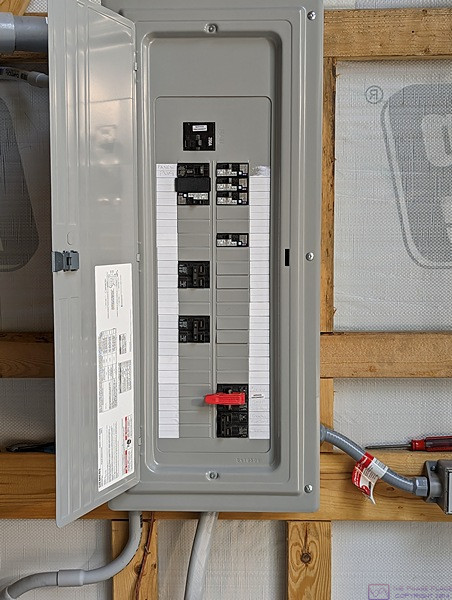
The main electrical distribution panel with the cover installed and the door open, showing the circuit breaker labels along the left and right edges. The device at the lower right of the image (the left edge is just barely visible) is the Type 2 Whole House surge protector.
Although most of the power to the west (bus) RV bay is fed overhead near the front of the barn, it made more sense for this outlet box to be fed from the east (trailer) utility receptacles circuit. Although probably hard to see, an “outside corner conduit body” is used at the top/left to bring the conduit around the corner. As will all of the conduit bodies, this one has a removable/gasketed plate which allows wires to be fed around the sharp 90 degree corner.
The conduit for the east (trailer) RV bay utility receptacles runs across the south wall of the shop over to the east wall of the west (bus) RV bay (see previous photo). Above the door to the shop, a T-body allows wires to branch off to the space under the storeroom stairs before continuing on to the west bay. The wires under the stairs will feed under stair lights and utility receptacles on either side of the staircase.
…