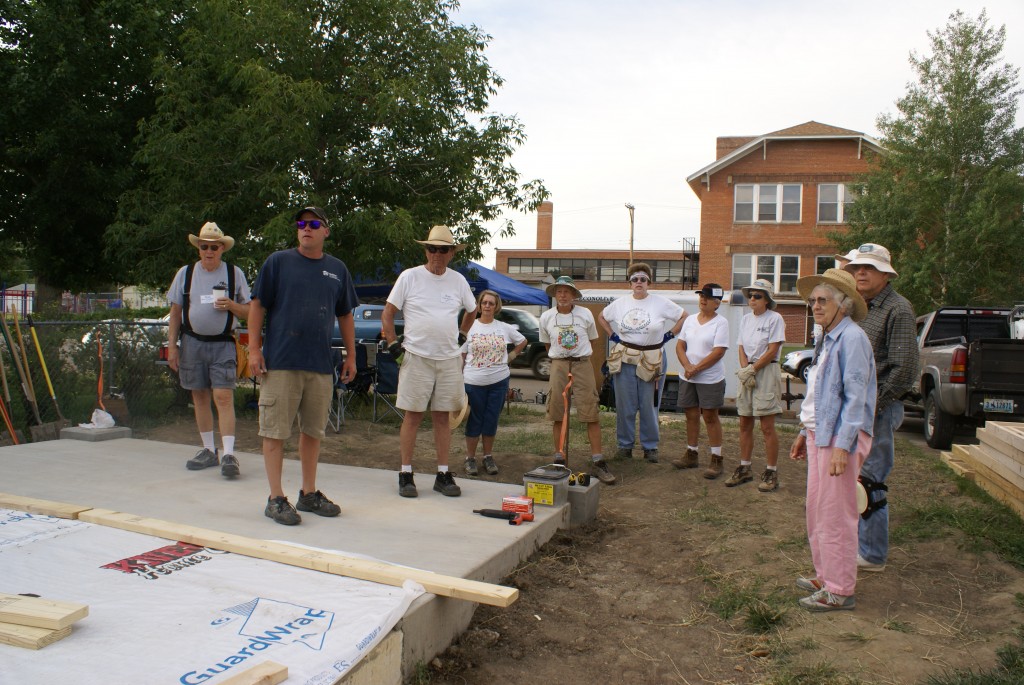
The team receiving the daily building instructions from Brian at “circle.”
The forecast for today was partly cloudy with 60% humidity and a high of 100 degrees F. Most of the team was at the Works site and ready to go by 7:00 AM. The main task today was to set all of the interior partition walls, nail them to the (concrete) floor, and tie them together. Additional work included building the front wall and beginning to assemble the west side wall.
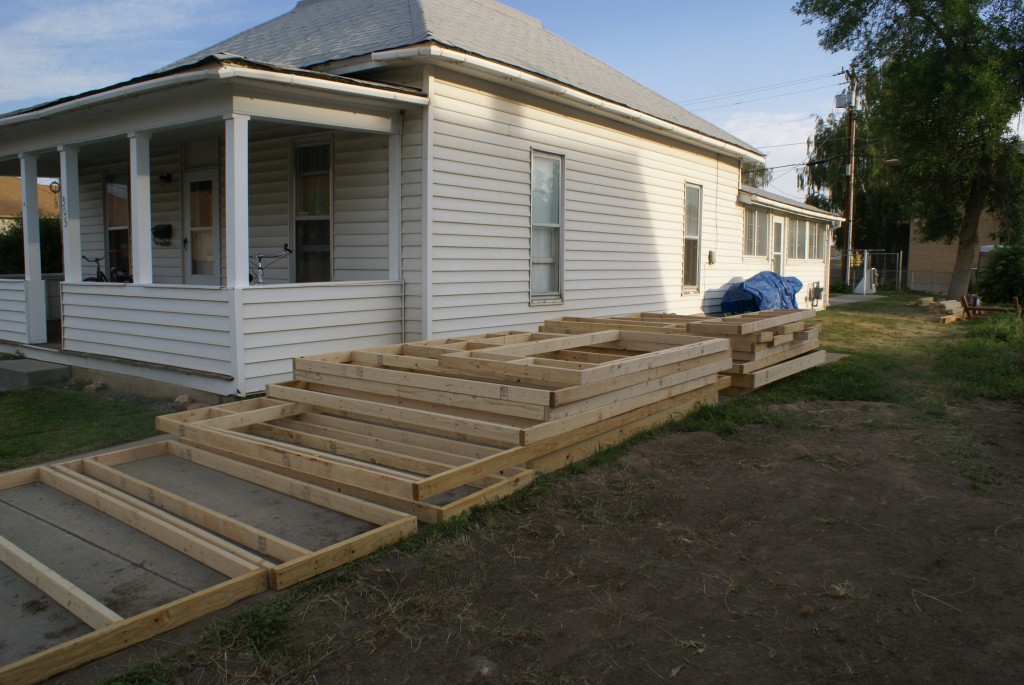
Assembled partition walls ready to be installed.
There was other work, of course. At 9:00 AM six of us went over to the other building site at Popular Grove to load the roof trusses for the Works house onto a 2-ton flatbed truck.
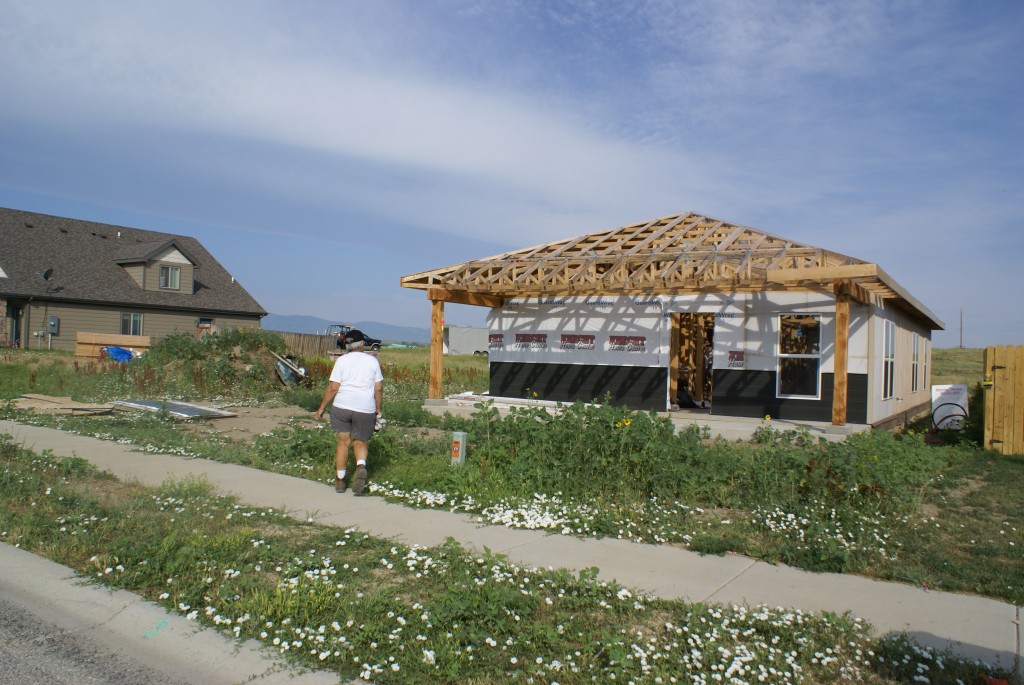
Retrieving roof trusses from the Poplar Grove building site.
The roof trusses.
When the truck got back to the Works site, everyone pitched in to unload and stack the trusses.
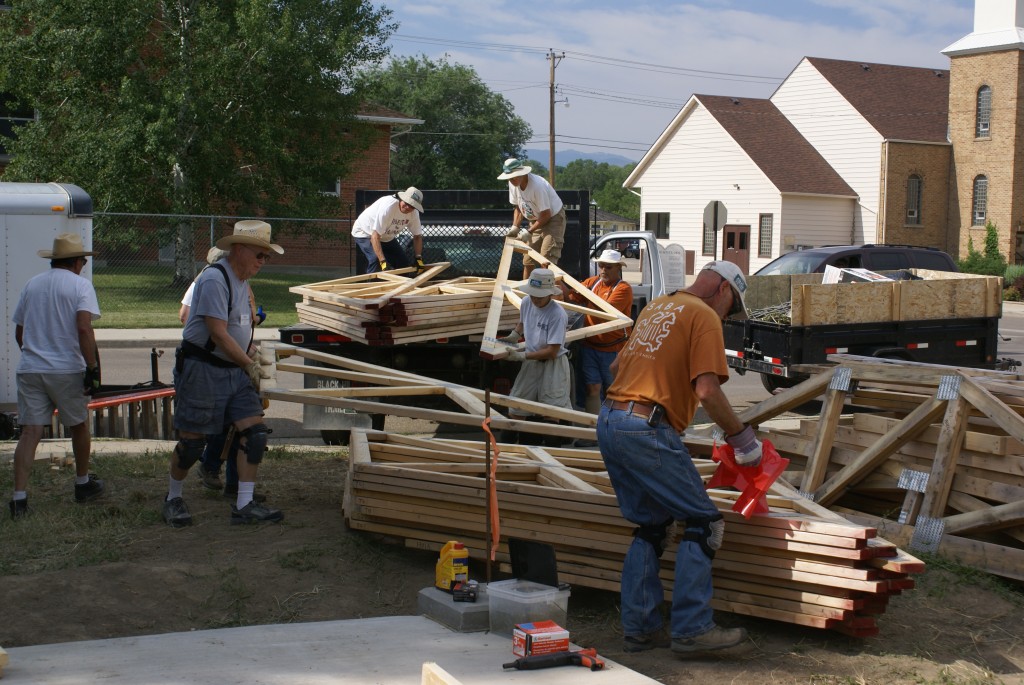
Unloading the roof trusses.
When it was time to install the partition walls, I volunteered to use the RAMSET to nail them to the floor. This tool is a gun that takes special hardened nails and drives them using a .22 caliber blank. This RAMSET was a single shot model that had a pump action for the firing chamber. With the chamber open, a nail is loaded into the barrel and then a .22 blank into the firing chamber. The pump slide is pulled back to close the firing chamber and cock the firing pin. The tip of the nail must be pressed into the wood to release the safety interlock. The trigger can then be pulled to drive the nail through the board and into the concrete floor. Sliding the pump forward opens the firing chamber and un-chambers the spent shell so it can be removed. We try to keep our worksite clean as we go, so I put the spent shells in a tool belt pouch rather than ejecting them onto the floor.
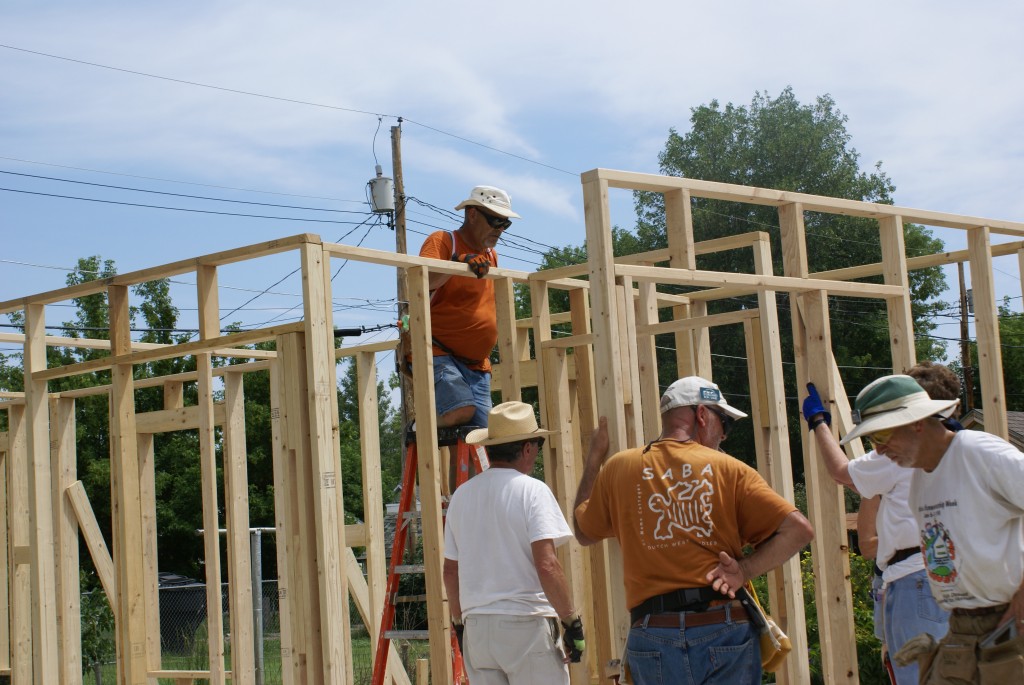
Installing the interior partition walls.
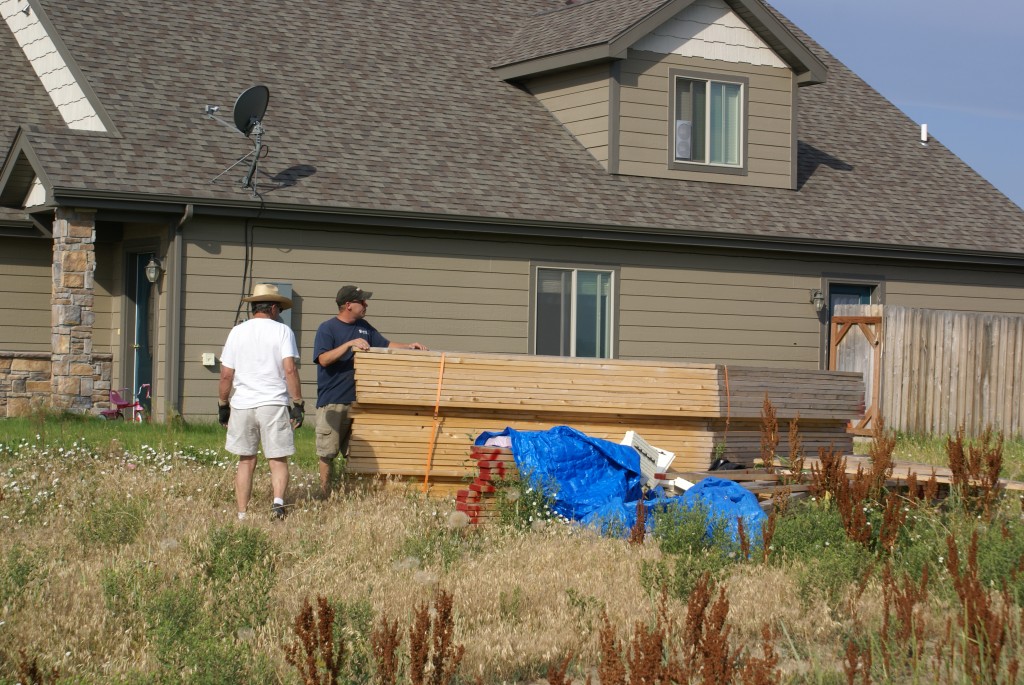
After lunch a couple of our team members went to work at the ReStore, and seven others went to help Matt load a trailer and pickup truck with donated materials from a closet organizer company that went out of business. That left half of our team at the Works site, some of whom (including Linda) continued working on the 76 foot long west wall which is being built in three sections.
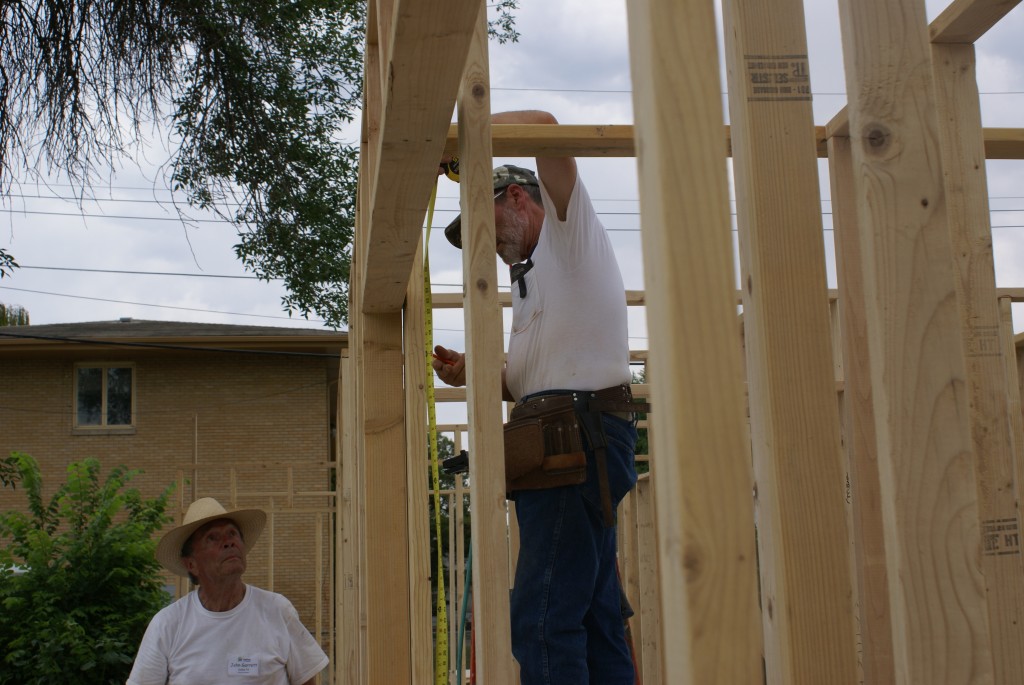
Bruce connecting interior partition walls together.
The partition walls still needed to be pinned together, so John, Bruce (the other one) and I worked on that. Brian finally got the air-powered framing nailer and air compressor out for this task as we had to hold pieces in alignment and then nail them at awkward angles while standing on a ladder. I did the ladder work with the nail gun, so that was my second use of a “gun” today. Now I really feel like I am in the west!
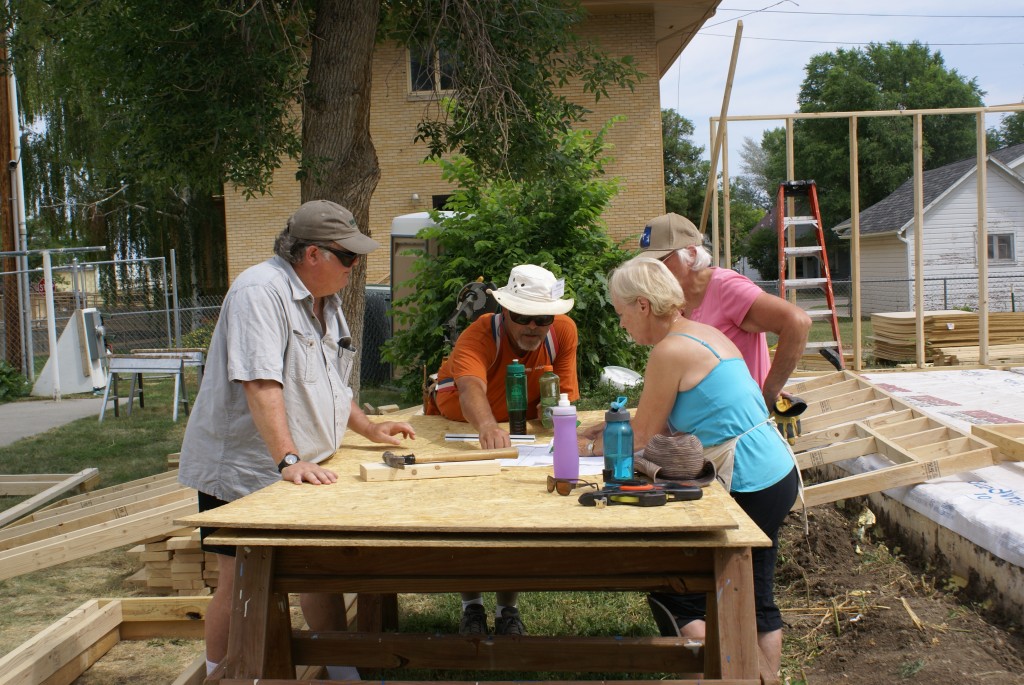
Discussing the plans with Sandyy, the architect.
We wrapped up at the Works site by 2:00 PM as planned but were asked to join the rest of the team at the ReStore to help unload the donated material. That made for a longer day, and everyone was beat by the time we finished. But we accomplished a lot, and that felt good.
We did not go for a walk as we were very tired and I had to sanitize our fresh water system as the water in the fresh water tank had turned rather foul. We try to travel with fresh water “just in case” we need to boondock or pull of to the side of the road and use the on-board facilities. What we have discovered, however, is that the water can only be left in there for so long, especially with long, not days, before it goes bad. I started the sanitizing process around 3:00 PM.
Sanitizing a fresh water system on a RV involves the dumping, adding, and pumping of water along with the use of chlorine (household bleach) and the removal/replacement of carbon filters, which will be overwhelmed and ruined by running chlorine through them. The process takes time and uses (wastes?) water because the chlorine has to be diluted to the proper concentration (1/4 cup per 15 gallons tank capacity), flushed into the fresh water tank from an empty filter housing, circulated through all of the plumbing, and allowed to sit for hours before being rinsed out with fresh water. First I had to dump the old, gnarly water. It’s still considered fresh water, so it’s OK to dump it on the ground. We are lucky in that our 125 gallon fresh water tank has a 1.5″ RV dump valve installed near the bottom that discharges through the floor of the bay and can be used to drain the tank relatively quickly.
We do not have any way to pour chlorine directly into the tank, so I have to shut off the water, relieve the pressure, unscrew the inline filter housing, remove the carbon filter, pour the pre-determined amount of chlorine into the housing, screw the housing back onto its base, and start filling the tank by opening the diverter valve and adding water to the tank. I then have to use the house water pump to fill every inch of plumbing in the rig, and let the diluted chlorine solution sit for 3 to 4 hours and do its magic. I know I have chlorine in all of the plumbing when I can smell it coming out of all of the faucets.
By 4:30 PM most of us had recovered sufficiently from our long, hot work day to gather at Kathy’s motorhome for our SKP social. We were joined by Russell, a fellow SKP from Texas, as a SKP happy hour is always open to any SKPs who are around. We’ve met one other SKP on our evening walks, but he did not attend.
We had a light dinner of Masala Lentil Pilaf. By the time we were done it was 8 PM and still warm, so we skipped our evening walk. The chlorine solution had been in the plumbing for about four hours so I dumped the fresh tank (again) and refilled it with good water from the campground through our sediment filter, water softener, and carbon filter, which I had re-installed in the inline housing. The Shur-Flo pump was then used to flush all of the lines out with fresh water.
We finally took our showers and Linda headed off to bed while I replied to e-mails and worked on this blog post.
BTW: The Shur-Flo 4048 water pump is working very well, providing better pressure and flow than we get from the campground connection. Given that the pump is working well, it us our plan to start using the water from the tank to keep it from going bad and refill it as needed. There is also the issue of having water pressure applied to the coach when we are not here. Whether it’s the shore hose or the on-board pump, having the water system pressurized poses a risk of flooding and water damage if the system develops a leak. In general, the system should not be pressurized unless it is being used and can be monitored.