We were tired and went to bed early last night. Naturally, that meant we were up earlier than usual this morning. Linda made her fabulous vegan blueberry pancakes to get us fueled up for a long day of work. The landscapers were also here reasonably early and had a very productive day. More on that later.
Our first task this morning was installing a switch controlled dual LED floodlight fixture on the back of the garage above and to the left of the door (when viewed from the outside). The location was determined by the construction of the rear wall of the garage. I measured and re-measured the location of the cable hole to make sure the surface mounted junction box ended up in the center (vertically) of one of the siding boards. I drilled a 1/2″ hole through the back (north) wall of the garage just to the right of the back door (when viewed from inside the garage) and just below the top plate. I ran a 14-2+g (NM) cable (that I had previously prepped and left in the wall cavity) through the hole in the wall and then through the hole in the back of the junction box. This was the part of the north wall where I had to remove concrete backer board, a burned 2×4, and singed insulation, so the studs and back side of the exterior plywood sheathing were exposed and accessible.
We moved around to the outside and I caulked the hole around the wire, put a generous band of while caulk around the hole on the back of the junction box, and a half circle of caulk around the top back edge of the box and mounted it to the outside of the house with the center knockout centered over the hole in the wall. I installed the dual LED light fixture and put a bead of caulk around the top half of the junction box where it met the fixture. (The heads of the cheap machine screws that now come with electrical fixtures and plates strip very easily making it difficult to get a tight fit.) I caulked the wire hole from the inside and then dressed and secured the cable. I turned the circuit breaker on, and checked for proper operation of the switch and light fixture. It was all good. I like it when that happens.
Our next task was to install three round blue plastic junction boxes for bare bulb light fixtures; two for the garage attic and one for the garage end of the library attic. I was originally going to install a switch near the top of the fold-down ladder to control the lights and run power to it from a new ceiling light fixture in the utility closet, but we came up with a better solution.
There was a three-gang electrical box in the east wall of the garage just inside the door from the library. It had two switches installed and the cover plate had openings for a duplex outlet in the third position, but no device installed there. We thought this would be a better place for the switch—as there was already power to the box—if we could get a wire through the wall from the attic to the box. The drywall is missing from the lower half of the wall so we had good access to the underside of the box. (The drywall was removed by the previous owner to repair the frozen hot water baseboard heat pipes.) I checked in the attic and it looked like we had a good shot at making this work. The icing on the cake was that we could install a switch with a pilot light that is designed to fit in a duplex outlet cover plate. Not only would it be convenient, it would provide a visible indication that the lights were on.
I did the attic work while Linda took care of the garage end of this task, passing me parts and tools as needed and helping feed NM cable. We ran 14-2+g (120V, 15A) wire from the attic through the east wall to the existing outlet box. I pulled the cable over to the location by the library attic, mounted the box, cut the cable, unsheathed it, stripped the wires, ran it into the box, and secured it to the truss. I repeated that process with the end of the free cable. The plastic light fixtures I bought very conveniently feature pass-through wiring terminals so all I had to do was hook up the cables, fasten the fixture to the box, and screw in the 100 W rugged service bulb.
I repeated this process for the next box/fixture which I positioned just to the west side of garage ridge 1/4 of the way in from the front (south) wall. Finally, I repeated most of this process for the third and final (for now) box/fixture which I positioned on the east side of the ridge 1/4 of the way in from the back (north) wall. Somewhere in the middle of all that we stopped for lunch.
With the attic lights installed I needed to pull the wire that supplied power to the outlets in the west half of the garage out of the rear/north wall and up into the attic. Easier said than done. The cable was originally part of the circuit that powers the outlets in the northeast wall of the garage (and now powers the new floodlights on the back wall) but I disconnected it a week ago knowing that I wanted to feed it from a separate breaker. The cable went through a hole in the top plate and I discovered that the bottom cord of the gable truss had been set partially covering this hole with the cable pinched under it. I cut the cable from above and ran it into a plastic switch box. Linda was then able to pull the tail end loose from underneath. I will run a new cable from the sub-panel to the junction box after I get more pressing work done.
On that note I also realized today that I do not have to get the cables for the new circuits through the top plates above the sub-panel, which was going to be difficult-to-impossible. The sub-panel is surface mounted and I already planned to box around it. With the supply air duct coming out of the new HVAC unit and running straight out along the ceiling above the utility closet door I will have 16 inches of clear ceiling space. The sub-panel is about four inches deep so I will have about three inches of ceiling above the panel and in front of the top plates where I can run new cable into the attic. Brilliant!
Our last attic task for today was to disconnect two telephone wires in the wall cavity to the right of the sub-panel, pull them up into the attic, reroute them, and reconnect them. One of them turned out to be the main phone/data line coming into the house from the AT&T box at the southwest corner of the garage. There was a telephone wall outlet to the right of the old sub-panel that this line ran to before continuing on to the rest of the house. The wires are very small gage, are unshielded, and the cable is draped through the attic over multiple 120 VAC cables. I need to replace this with a single run of much better (shielded) cable when I have time. Perhaps we will get less static on the phone and faster Internet data transfer rates. (Nah, probably not. It will still be an AT&T landline.)
While I started working on re-wiring the three-gang box in the east garage wall, Linda made a run to Lowe’s to get a 32′ roll of 16″ x 3.5″ (R-13) insulation and a switch with a pilot light. I got the box rewired, we energized the circuit, and everything worked. Yippee!
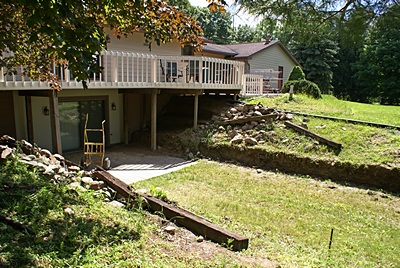
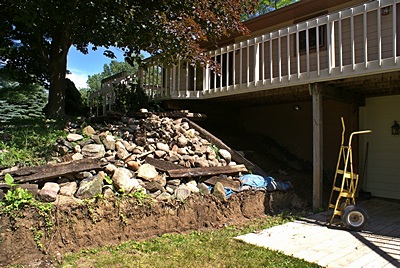
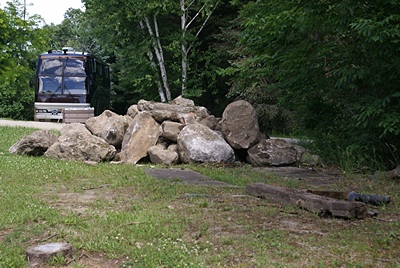
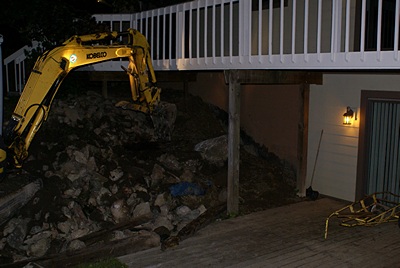
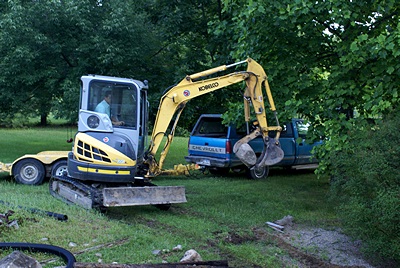
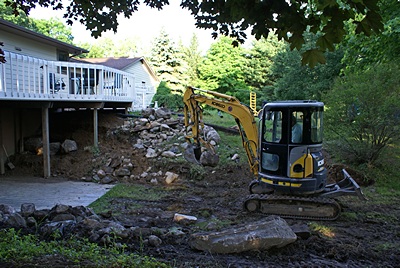
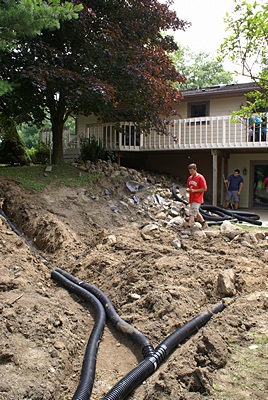
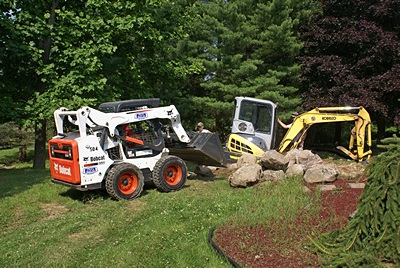
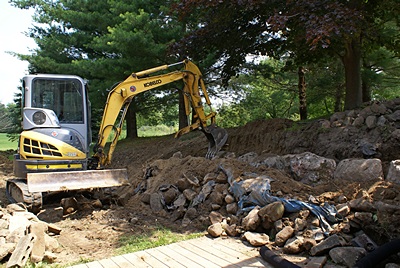
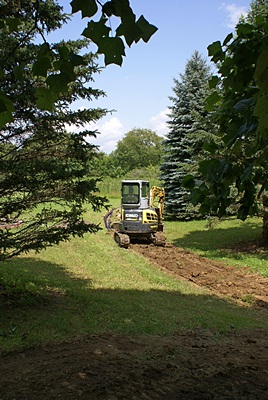
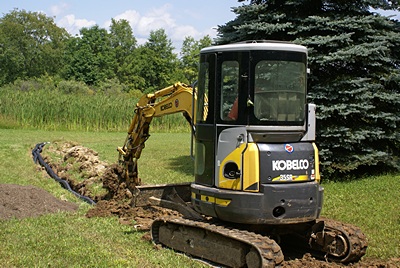
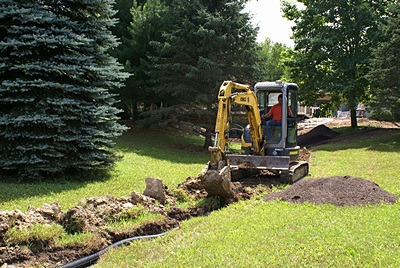
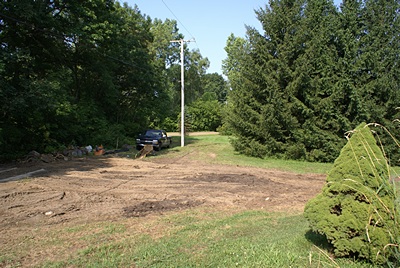
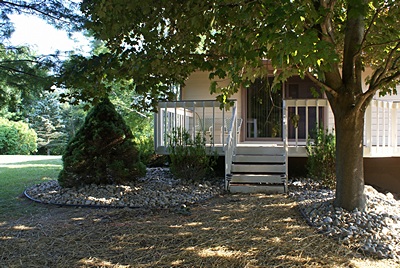
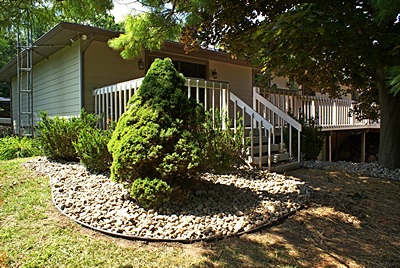
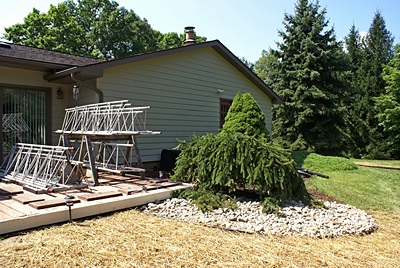
The landscapers today consisted of Steve (the owner), Spencer (his nephew), and Tommy. Steve used the excavator to place four large boulders on the sides of the new front steps. That was the last work to be done in front that required the excavator so he used it to back blade (level off) and compact (with the bucket) the pull-through driveway. He was not able to return it to its existing condition but did the best he could with the equipment he has.
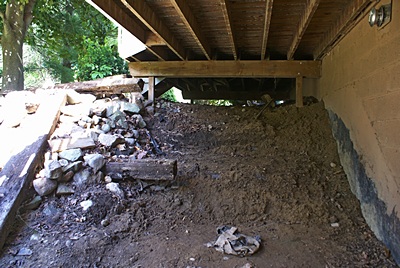
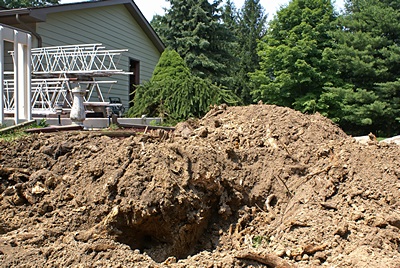
He took time out to use his chain saw to cut down a dead pine tree, cut it up into 4′ lengths, and carry the pieces back to his truck with the excavator. He then used it to fill/grade a large low spot just southwest of the garage. This was the route they used to get the excavator to the back yard. It was also where all of the construction debris was piled until yesterday, and the excavator really tore the ground up in that area over the last four weeks.
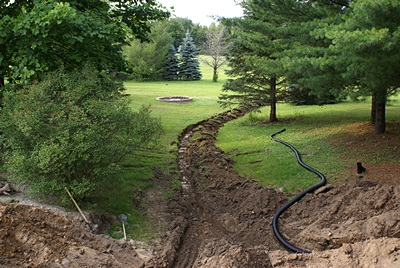
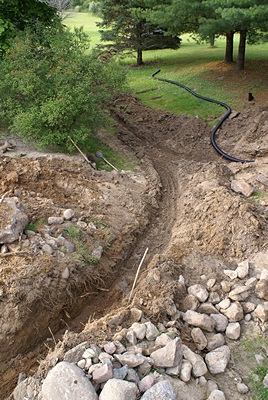
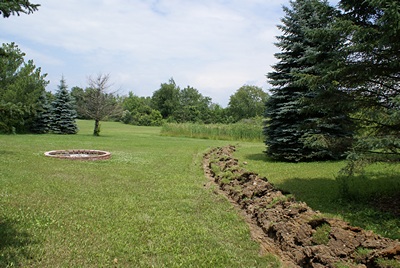
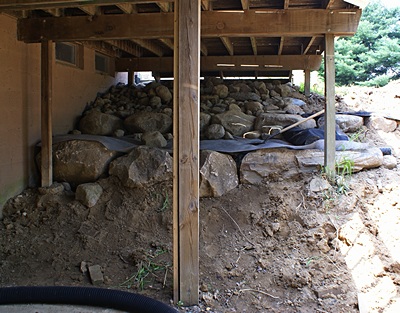
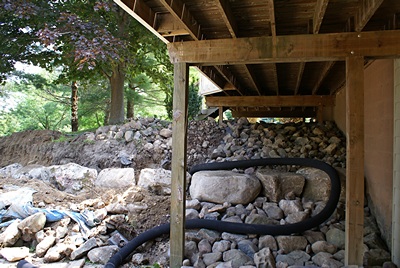
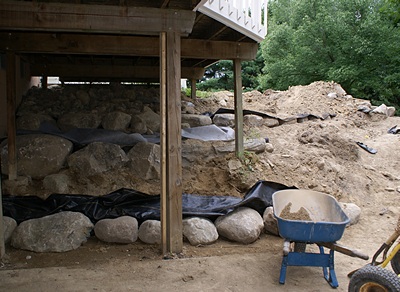
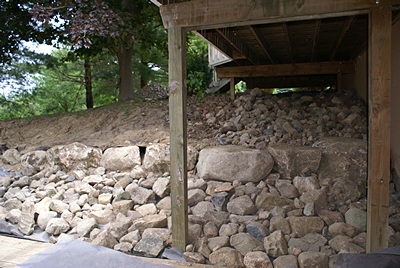
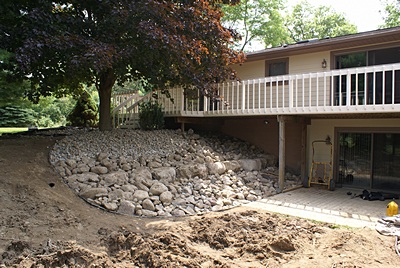
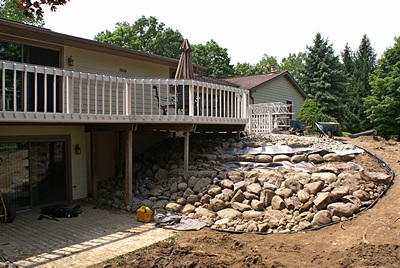
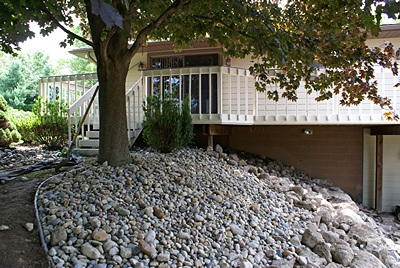
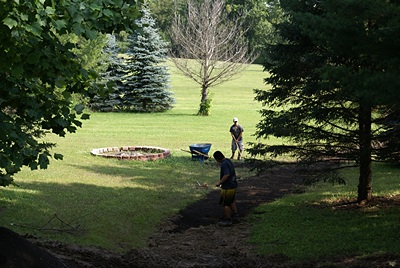
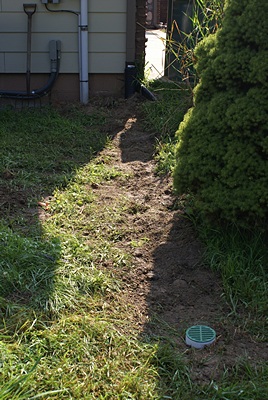
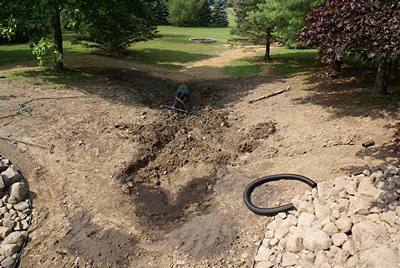
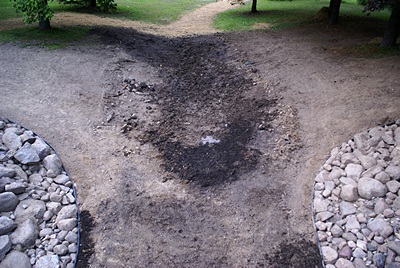
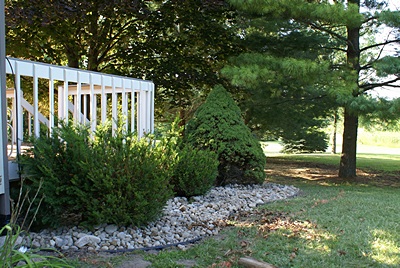
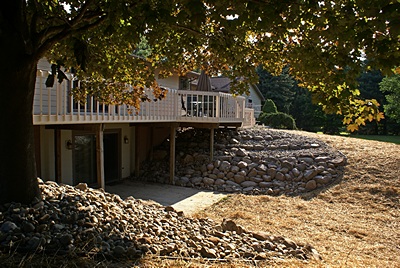
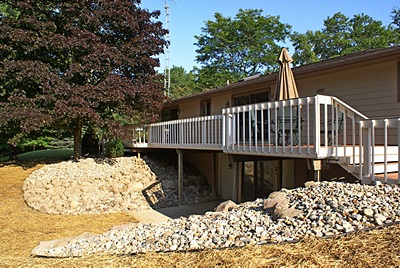
Spencer and Tommy worked in the back hand-grading the slopes beyond the retaining walls and the area that was trenched for the drain tiles. They worked in a layer of good topsoil, spread grass seed, and covered it with straw.
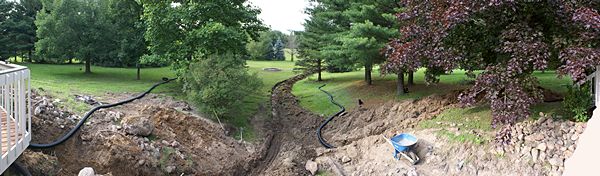
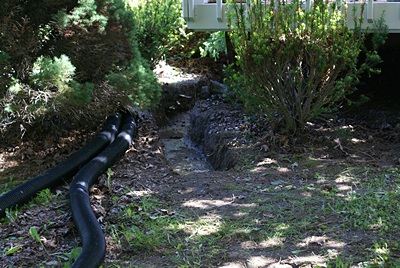
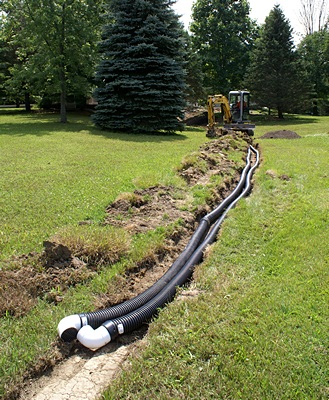
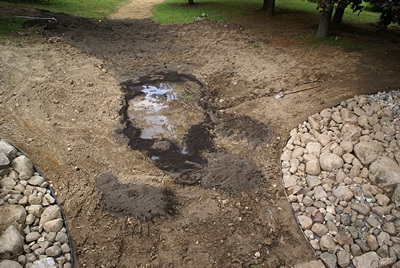
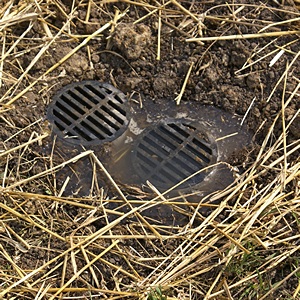
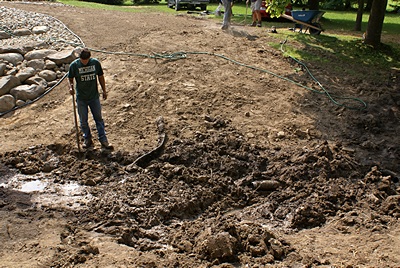
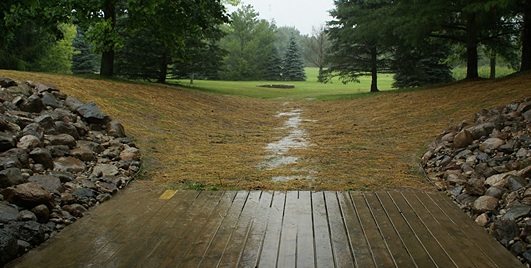
Steve plans to lay the brick pavers for the front sidewalk tomorrow and have the whole project wrapped up by the end of the day. It looked like they were on track to accomplish that until Spencer informed us that there was apparently a leak in the drain tile somewhere in “the valley.” Leak was an understatement; we had an area at least 8′ x 12′ that had turned into a pond.
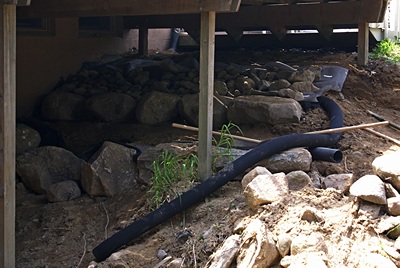
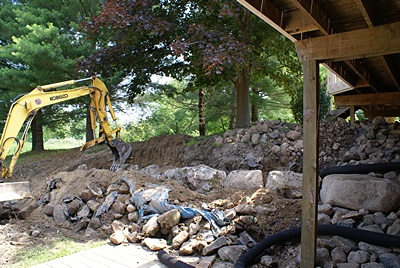
It appeared that the drain line for the sump pump was somehow discharging its water at this point rather than it flowing all the way down to the drains at the back of the yard. Spencer dug up some of the line coming down the slope and found several holes on the top side, but it did make sense that these were the source of the problem. Our guess is that that line, which is not one continuous piece of drain tile, has become disconnected at the valley floor allowing all of the water to escape at that point, and/or crushed, causing the water to back up through a connector (which is only designed for water to flow one way). Fortunately we kept the original PVC discharge extension pipe from the sump pump outlet so we temporarily disconnected the buried drain line and reconnected the extension pipe.
Whatever the cause of the leak, we are sure it will be found and fixed, we’re just not sure that will happen by the end of the day tomorrow. I had thought about “testing” the system by using a garden hose to put a significant volume of water into each of the drain lines. As of now, I will definitely be doing that.
Our final task was insulating a section of the rear/north wall. We got three of the four plus cavities filled and ran out of steam. Besides, it was dinner time. Linda made one of her “go-to” dishes; angel hair pasta with onions, garlic, mushrooms, sun-dried tomatoes, basil, and mixed baby greens lightly sautéed in olive oil. This is a dish she can throw together from ingredients on hand without a recipe and it is always delicious. We had a small glass of Leelanau Cellars Summer Sunset wine while she cooked and a small glass of Meiomi Pinot Noir with the dish. No salad and no dessert; just a great pasta dish and nice wine. I got cleaned up and we watched the first episode of season five of Doc Martin. As we were drifting off to sleep we thought we heard the distant howl of a coyote.